Showing posts with label celery. Show all posts

September 4, 2013

It's Not A Tumer[ic]

When we got a whole cornish hen in our recent share, we wanted to do something more with it than just roasting it in the oven, or making beer can chicken again.  We turned to Eat With Your Hands for some inspiration, and found a recipe for tumeric chicken and celery mostarda, and we just had to try it out.

We started off by rinsing our hen.  After we were done making her dance around and flap her wings, we patted her dry and set her aside while we prepared her butter rub.
For the butter spice rub, we combined a jalepeno, turmeric, a couple cloves of garlic, kosher salt, and some fenugreek (our own tweak to the recipe), and smashed it into a paste with my mortar & pestle.  It takes a little elbow grease, but your'll end up with a nice paste.
Add your paste to some softened butter until it's well combined.  Then you're ready to massage it into your bird.  Make sure you get in all the nooks and crannies, as well as under the skin.  You should be able to separate the skin from the meat just enough to slide some of your spiced butter in there.
You're supposed to let your chicken marinate overnight, but we didn't read the recipe in advance.  So don't fret.  It still turns out tasty and delicious!  Now with your lemongrass, give the stalks a few good whacks with your knife.  This will let the lemongrass essence come out when it's in the oven.  Place the stalks in the bottom of your pan, and place your bird on top of them.  This prevents the bottom of your bird from cooking too fast, and imparts some nice flavor.
Pop her in the oven for about 20 minutes, then add some coconut milk and a bit of lime juice to your pan, and put her back in the oven.  You'll want to baste her periodically for the last 20 minutes as well.
While your bird is roasting, you can start on your celery mostarda.  Mostarda is a traditional Italian condiment of candied fruits made with mustard oil.  But Pelaccio puts an Asian spin on it by adding some heat, and fish sauce to the mix.  Start by slicing your celery into pieces, and toss with some salt.
In a separate bowl, combine a couple dried chilies, fish sauce, honey, star anise, cloves and some water.  Make sure you toast your chilies prior to adding them to your liquid, and be careful not to inhale over the toasted chilies.  We made the mistake, despite the warnings in the cookbook.  Let's just say, it's not pleasant.
Melt some butter in a small saucepan, and add your celery.  After about a minute, add your liquid mixture, and let it cook until the celery is tender.
Pull your cooked celery out of the pot, and let your pickling liquid continue to reduce until it is the consistency of maple syrup.  We didn't have any mustard oil on hand, so we had to improvise a bit.  We toasted up some mustard seeds, and then ground them in the mortar & pestle with a bit of sesame oil.  Once your liquid has thickened, whisk in your mustard oil, and then pour it over the celery.  You'll want to be sure to remove the chilies, star anise and cloves first.  You can also can your mostarda, like you would pickles.  If you do that, you can keep the aromatics in the liquid.  But since we were going to eat ours right away, we made sure to remove them, so we didn't accidentally bite into a clove or star anise pod, and ruin our pallets.
By the time your celery is done, your chicken should be done too.  Pull her out of the oven, and make sure to let her rest before you carve her up.
Our cornish hen was super moist, and had a very subtle coconutty flavor that mellowed out the spice rub.  It came out pretty tender with crisp skin and cooking it on the lemongrass imparted a citrusy taste without an acidic bite.  As good as the meat was, the real hero was the celery mostarda.  Taking cues from Malaysian cuisine, it had spicy, sweet, and sour flavors that awaken your taste buds.  The celery was a perfect blank canvas for all that flavor, and the texture was really nice as well.

September 1, 2013

Chow Mein Chow Down!

Every Sunday growing up, we'd have a light breakfast, and my mom would make a giant platter of noodles for lunch.  You'd think she were serving an army, but it was usually just the 3 of us; mom, dad & me.  She'd rotate between chicken chow mein, Singapore style noodles (my and Justin's favorite), and tomato beef chow mein.  In an effort to continue the tradition, we whipped up some tomato beef chow mein, albeit for dinner rather than lunch, on a recent rainy Sunday.

Start by slicing your flank steak into bite size pieces.  Season it with some white pepper, and make a marinade of soy sauce, sesame oil, and Chinese five spice.  You'll also want to toss in some cornstarch; just enough to coat the meat.  This will help give the meat a nice crust when you cook it, and help thicken the sauce.

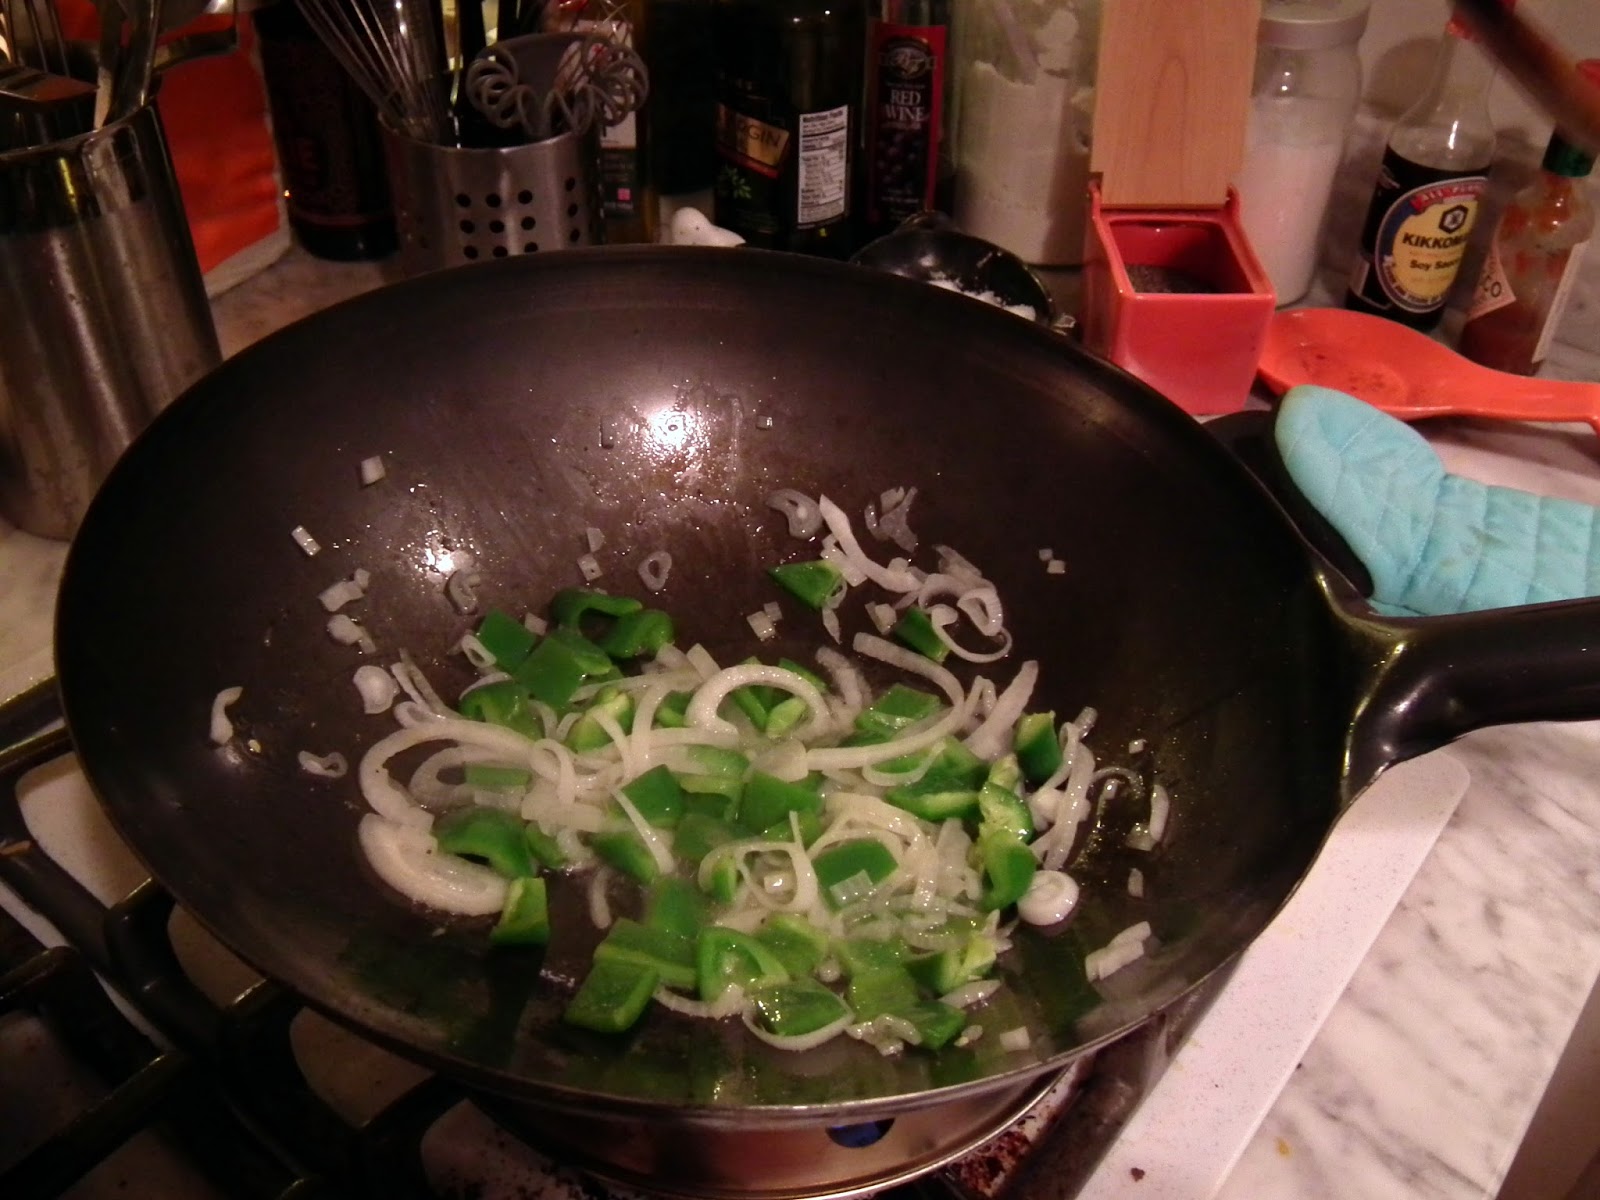
While your meat is marinating, you can get to work on your sauce.  Start by slicing up some onion and bell pepper.  It's up to you how you want to slice 'em.  Mom always cut them into chunks, which makes it easier to pick up with chopsticks, but it's totally up to you.  Toss them into your wok with some oil so they start to cook and soften.  You'll also want to slice up some celery.  I like my celery to still have some bite to it, so I add these in towards the end.

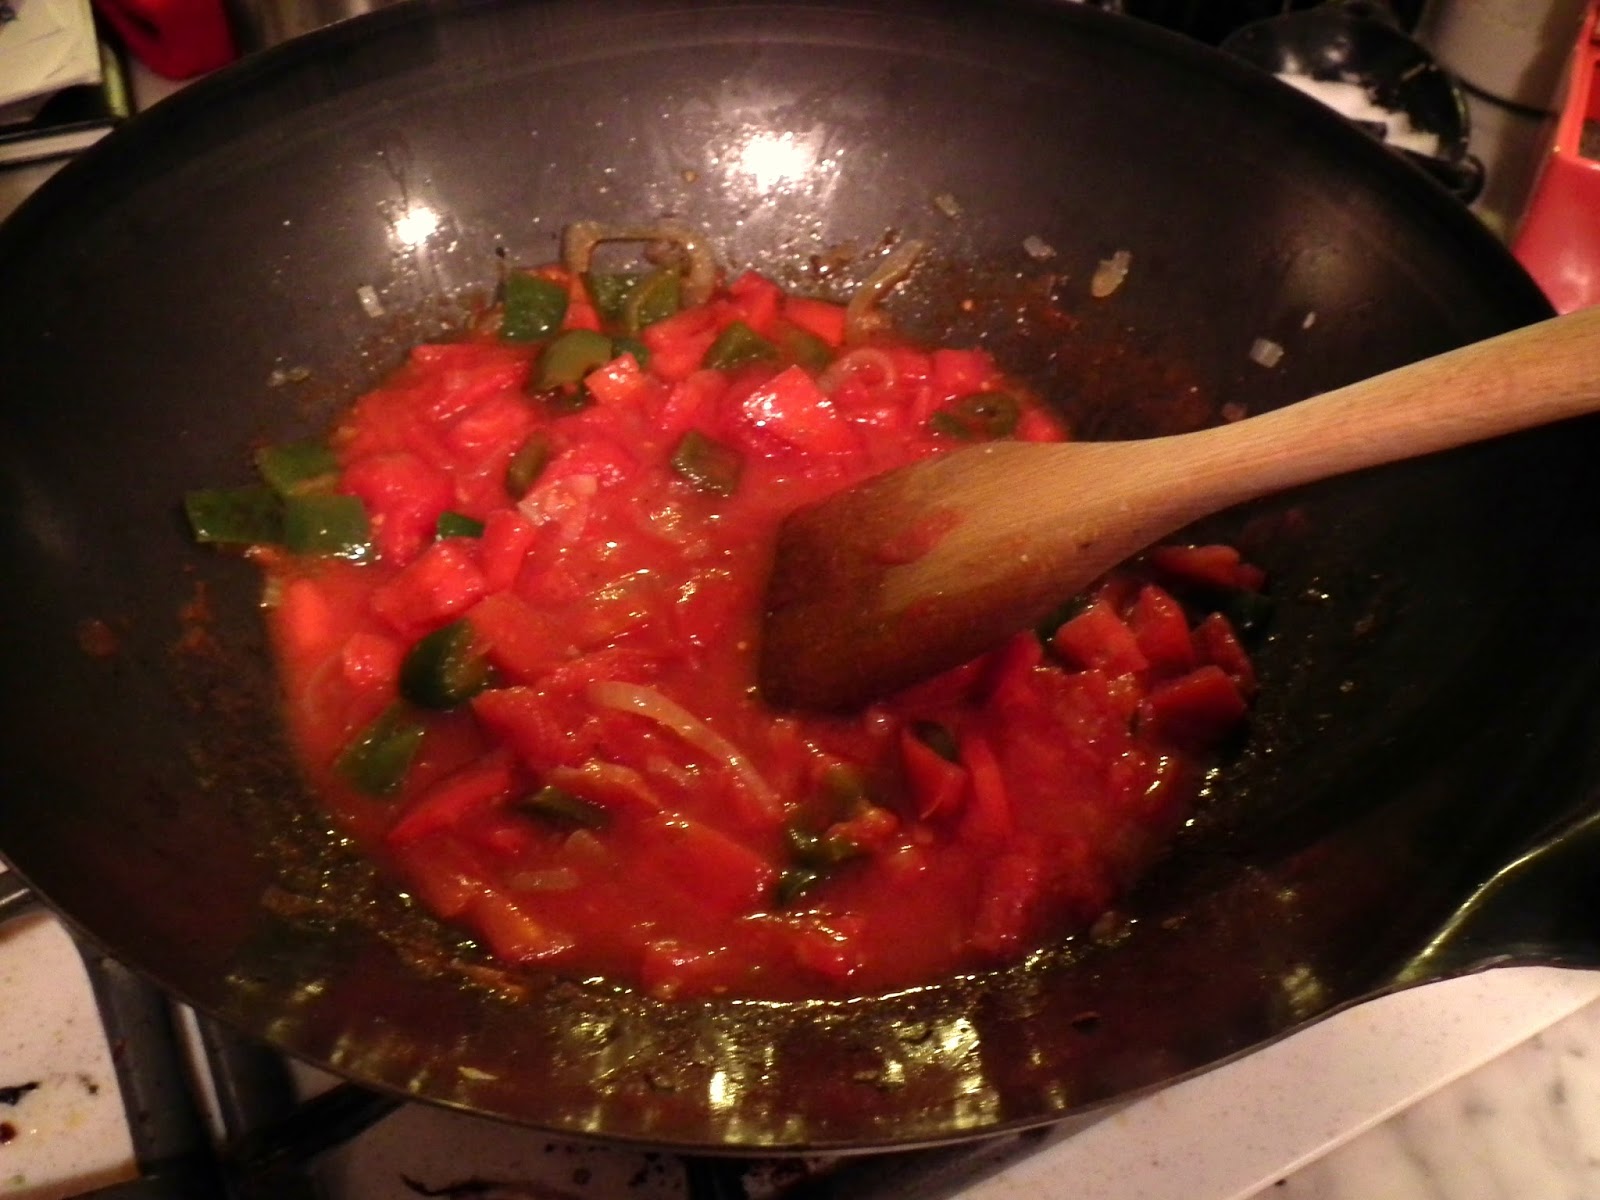
Once your peppers and onions have softened, add in your tomatoes.  We happened to have some fresh tomatoes on hand that needed to be used, so we diced those up and added them to the wok.  It wasn't quite enough, so we also added in about half a large can of tomatoes.  As they start to cook down you can just use a wooden spoon to break them up into more manageable chunks.  You'll also want to add in curry powder.

Once the tomatoes start to break down, add in your meat.  I just dump the whole bowl in, including any extra cornstarch that's in there.  Again, this will help thicken your sauce so you have a thicker, gravy-like consistency.  Just before the meat is cooked through, I add in the celery.

While all this is going on, you should boil some water for your noodles.  You'll first want to cook them in the boiling water, like you would pasta, but pull them out while they're still slightly underdone.  Transfer them to a baking sheet that you've sprayed with cooking spray, and pop them in the oven so they can crisp up.  Once they're golden brown, flip the noodles, and pop 'em back in the oven so the other side can get crisp.  The easiest way to flip your noodles is to place another baking sheet on top of the pan with the noodles, and flip 'em over.
Once the noodles are done, pull 'em out of the oven, and you're ready to serve!  If you're serving it up family style, place your noodles on a platter and top with your sauce.  The warm sauce will help soften your crisp noodles, and make it easier to break them apart and eat.  Since it was just Justin and I, we put noodles in each of our bowls, and spooned on the sauce.
It was a great, comfort meal on a rainy day.  Almost as good as mom's!

May 6, 2013

CSA Recap

I know we're a week early, but last week's share was to make up for the one we missed while on vacation.  Tomorrow we'll pick up our next share and get back on the 2 week rotation.  So, here's what we picked up...
And here's what we made...
  • Balsamic Chicken with Prosciutto-Wrapped Asparagus
    • asparagus
  • Pecan-Crusted Salmon with Sorrel Sauce & Salad
    • sorrel
    • basil
    • mixed greens
    • celery tops
    • golden delicious apple
  • Garlic Scape Pesto
    • garlic scapes
    • basil
  • Umami Burgers (like these) & Sweet Potato Fries
    • ground beef
    • bibb lettuce
    • sweet potatoes
  • Sausage & Spinach Frittata w/ Home Fries
    • pork sausgae
    • spinach
    • garlic scapes
    • potatoes
We still have some sorrel, celery tops, and the actual garlic bulbs left, but I'm sure we'll find a good use for them with the goodies we pick up tomorrow.

May 1, 2013

The Sorrel of the Story...

We were a bit unsure of how to best use our sorrel, so as always, we turned to the interwebs to see what kinds of recipes are out there.  Since we haven't had seafood in a while, and salmon went on sale at the market today, we decided to go with a pecan-crusted salmon with sorrel sauce.  It came together really easily and quickly, and made for a great week night meal.

Justin tackled the fish, making the crust by simply throwing the pecans, basil, and tarragon into a food processor, and grinding it all up with a bit of butter.  Then you just slather it on your salmon fillets, and pop them in the oven for about 20 minutes.
In the meantime, I took care of the sauce.  You start by chopping the sorrel and shallots, and giving them a quick saute with some cooking wine.  Once the sorrel has wilted, add in the cream.  Since we're back on the Paleo diet, we substituted coconut cream for the whipped cream.  Add a squeeze of fresh lime juice, and let it reduce down.  We also threw in a small pat of butter to help cut the coconut flavor.  Once it's reduced down to your desired consistency, give it a quick blend to smooth out the sauce and finely chop the sorrel and shallots.  Then just season with some white pepper and salt.

To compliment our fish, we threw together a simple salad using the mixed greens we picked up yesterday.  We sliced up some red onion, diced up one of the golden delicious apples, gave a rough chop to some of the celery tops, and thinly sliced some carrots.  For the dressing we mixed together some grapeseed oil, a bit of whole grain mustard, and some orange muscat vinaigrette.

The crust on the salmon gave it a nice herby crunch, and the sauce added a nice, creamy, earthiness.

April 30, 2013

CSA Day!

Between the end of the winter share and being on vacation, it feels like forever since we picked up a share.  But we're back on track to bring you more delicious meals.  We're really excited to get fewer potatoes and squashes, and a wider variety of fruits and veggies as the weather warms up.
I'm really excited about the sorrel, an ingredient I've never cooked with before, and to have garlic scapes to work with.  Stay tuned to see how we use them!

March 27, 2013

It was Colonel Mustard, in the dutch oven, with the leeks

Since we're heading out of town this weekend for Easter, we needed to find a way to use the rest of our share food.  We turned to the interwebs, as always, for inspiration, and came up with pork chops with a mustard sauce, roasted turnips, and salad.  So let's get started...

Start by slicing up your carrots, celery, and leeks.  We included the leaves from the tops of the celery too.  Because of all the layers in the leeks, a lot of dirt can get in there.  Once you slice them, you'll want to place them in a bowl with water, and swish them around, separating the layers.  All the dirt will sink to the bottom of the bowl, and you'll be left with clean leeks!
Then we melted some butter in the dutch oven, and threw all the veggies in there to soften.  Once they've cooked down a bit, add your whole grain mustard and almond milk.

Once everything's had a chance to mix together, nestle your pork chops into the mixture.  We also added a couple bay leaves, some parsley and thyme.  We threw a lid on it and let it cook for about 15 minutes.  While those were cooking, we roasted up some turnips with a bit of grated red onion on top.
We also threw together a quick salad with our creasy greens, some carrots, red onion, and the rest of the pate we had leftover from our rainy day soup & salad dinner.  With a simple dressing of olive oil and champagne vinegar, we were ready to eat!

March 9, 2013

Whole Roasted Chicken

Tonight we tackled a whole roasted chicken for dinner.  It may seem like a daunting task, but in reality, the oven does all the work.  We ventured over to Trader Joe's to pick up some groceries for the week, and picked up our bird.  The nice thing is that they have whole organic chickens that are already brined.  Whether you brine it yourself or buy a pre-brined bird, brining is the way to go.  It helps keep the meat really moist and delicious.
So once we got our bird home, Justin got to work on him, giving him a nice rub down with some butter and Kosher salt, making sure to get some of the butter under the skin as well.  Despite the brining, you still want to liberally salt the skin.  This too will help keep him moist.  And the butter helps brown the skin so it's nice and crispy.


While Justin was massaging the chicken, I got to work chopping up all the veggies to make a nice little bed for him.  We went with leeks, celery, half an onion, and some carrots.


I also got together the aromatics that we stuffed into the cavity of the bird.  These included a whole lemon, sage, rosemary, thyme, garlic, and half an onion.  Then you just stuff it all inside the cavity.
Once everything is stuffed inside, you want to close the cavity by tying the drumsticks together.  We'd consulted Ruhlman's Twenty prior to roasting to see what Mr. Ruhlman suggested, and to keep the meat moist, he recommended either stuffing the cavity or closing the cavity (he also recommended the liberal use of salt).  Doing so prevents the hot air from circulating through there and drying the meat out from the inside.  We figured we'd do both, to keep the meat moist, and add some additional flavors.
Once he was all tied up, we placed him on his bed of veggies so he was nice and cozy, and placed him in a 450 degree oven for about 45 minutes.  Justin has a convection oven, so he cooked a bit faster than if we were using my regular oven.  If you want to check your bird, the telltale sign of doneness is when the juices run clear.  After about 45 minutes, our bird was pretty much done.  We wanted to crisp up all of his skin, so we flipped him, and put him back in the oven for about 10 minutes.
Mmmm...look at that delicious, golden brown, crispy skin!  Just like any other meat, you'll want to let your chicken rest for a good 10 minutes before you start carving him.  So while our guy rested, I added a little butter, and some fresh thyme, sage, rosemary, and fresh cracked pepper to the veggies.  I also took a wedge of lemon that had been in the cavity, and squeezed some of the juice over them.  Then it was time to eat!
The meat was so juicy and moist, with hints of the lemon and herbs that we'd stuffed inside it.  The skin was perfectly crisp with just a hint of salt.  The veggies still had some bit to them, and were a perfect complement to the bird.  We also baked up a sweet potato and topped it with some pancetta and green onion.  So if you're looking for an easy, one pan meal, you should definitely try roasting a whole chicken.  Plus you'll have leftovers for later in the week!