February 27, 2013

Let's Dish on our Fish...

Wednesdays can be a tough day to get motivated to cook dinner.  You're bogged down at work, already looking toward the weekend.  Although fish is more of a Friday thing this time of year, trout and spinach were all that remained of our share, so tonight that's what we did.  We got a late start, but luckily tonight's dinner came together in a matter of minutes.  No joke!

Justin was in charge of the sauteed spinach.  He started by chopping up some garlic, onion, and the shitake mushrooms from the share.  Into the pan they went with a little butter, where they cooked down for a few minutes, until the onions and garlic were soft.  He also added a dash of red pepper flakes for some heat.
Once that all cooked down, he added the spinach, and a little white cooking wine to deglaze the pan.  It took just a few more minutes for the spinach to wilt down.


While Justin took care of the spinach, I got to work on our whole trout.  Since we had some lemon, onion, and cilantro to use up, we decided to stuff our little guy with all of those tasty ingredients, along with some garlic and ginger.
 
Before stuffing him silly, he got a sprinkling of salt and pepper on both sides of his skin, and inside.  Then I filled his belly with the garlic, ginger, some of the sliced onions, some of the lemon slices, and about half of the cilantro.  I also made a little bed of lemon and onion for him to rest on, and to serve as a little blanket for him.
Into the oven he went for about 7 minutes on each side.  The flavors melted into the fish, and the skin got a bit crispy.  We topped him off with the remaining fresh cilantro.  So in about 20 minutes, we had a delicious meal.  We also had the leftover polenta with kale that we made the other night.  I think it was even tastier as a leftover!  But if you're looking for a quick meal to throw together mid-week, or any day of the week, try this out.  The flavors of the lemon, ginger and cilantro were subtle, but they were there.

February 26, 2013

So Cheeky

If you've been following along, at least since Christmas, you've heard us mention guanciale a time or two.  I know I keep telling you I'm going to post about how we made ours, and that day has finally come.  Huzzah!

So, if you remember, back in December when Justin unwrapped his Christmas present of a pig head, and we made porchetta, we cut off one of the cheeks to make guanciale.  If you're not familiar with guanciale, it's basically like bacon, but instead of being made from the pig's belly, it's made from the cheek.  It's quite easy to make too.

Once you have your cheek, you want to make sure that all surfaces are as smooth as possible.  Since it's going to cure, and be exposed to air, you want to minimize the amount of nooks and crannies where the bad bacteria/mold can grow.  So if you're cutting the cheek off the face yourself, make as smooth of cuts as possible.  Then rub 'er down with your salt and spices.  We used a combo of Kosher salt, black peppercorns, juniper berries, star anise, red pepper flakes, and coriander.  Pretty much the same mixture we used for the porchetta.  Once it was rubbed down, we put it in a ziploc bag and stored it in the fridge for about 2 weeks.  You really only want to cure it for about a week, otherwise it'll turn out a tad salty, as ours did (womp, womp!)
after a week of curing
Before you hang it to dry out, you want to rinse off the salt and spices you rubbed all over it.  Pat it dry, and hang it up over the sink.  You want it to lose about 30% of its weight.  If you notice any fuzzy or colored mold starting to grow on it, you'll want to wipe it off with a towel.  But if you see the white mold, like you'd find on salami, you're in good shape.
Day 0
Day 7
Day 14
So after 2 weeks, our guanciale had lost 40% of its weight, and we could finally eat some! At this point, you can just slice it up and cook it like bacon.  We've had some for breakfast in place of bacon, and we've added it to our meals, like when we made gnocchi the other night.

Now, go get yourself a pig head and start curing!

February 25, 2013

Monday Night Mangia!

Tonight, we have a quick, easy chicken piccata with a side of creamy polenta with kale.  It came together rather quickly and was really tasty to boot!  So let's get started...

You'll want to strip the kale off the ribs, and slice up a few cloves of garlic.  Cook up the garlic in a little olive oil, just until it's fragrant, and then add your kale so it cooks down a bit.
While the kale is sauteeing, bring to a boil some water, milk and butter.  Once it starts boiling, whisk in the polenta.  Keep whisking until it thickens.
Once the kale has wilted down a bit, you can coarsely chop it, then add it to the polenta.  Make sure you continue to stir your polenta every once in a while.
 
Let the polenta continue cooking.  Right before you're ready to serve it, stir in the ricotta and let it heat through.  To put our own little spin on the dish, we added a little crushed red pepper flakes for a little heat.

Now, on to the chicken!  The meat tenderizer was at Justin's place, so instead of pounding out our chicken breasts, he cut them into thin cutlets, and simply breaded them in pan searing flour, salt and pepper.
These just got pan fried in some melted butter and olive oil until they were cooked through.  To keep them warm and crispy, we placed them on cooling racks on a baking sheet and put them into a warm oven.  Keeping them elevated on the cooling rack lets the air circulate underneath and keep them crispy on all sides.
For the sauce, we used the same pan we cooked the chicken in, and just added a little more butter, white cooking wine, some water (or you could use chicken stock), and a little lemon juice.  Since we had some dill and thyme on hand, we added that to the pan as well, for a little extra flavor.
Once those flavors had a chance to meld together, we added a little flour to thicken it up, as well as the capers for some saltiness.  And that's it!  Super simple, and only used a couple pans.  What more could you ask for?

February 24, 2013

Red Carpet Sunday Dinner

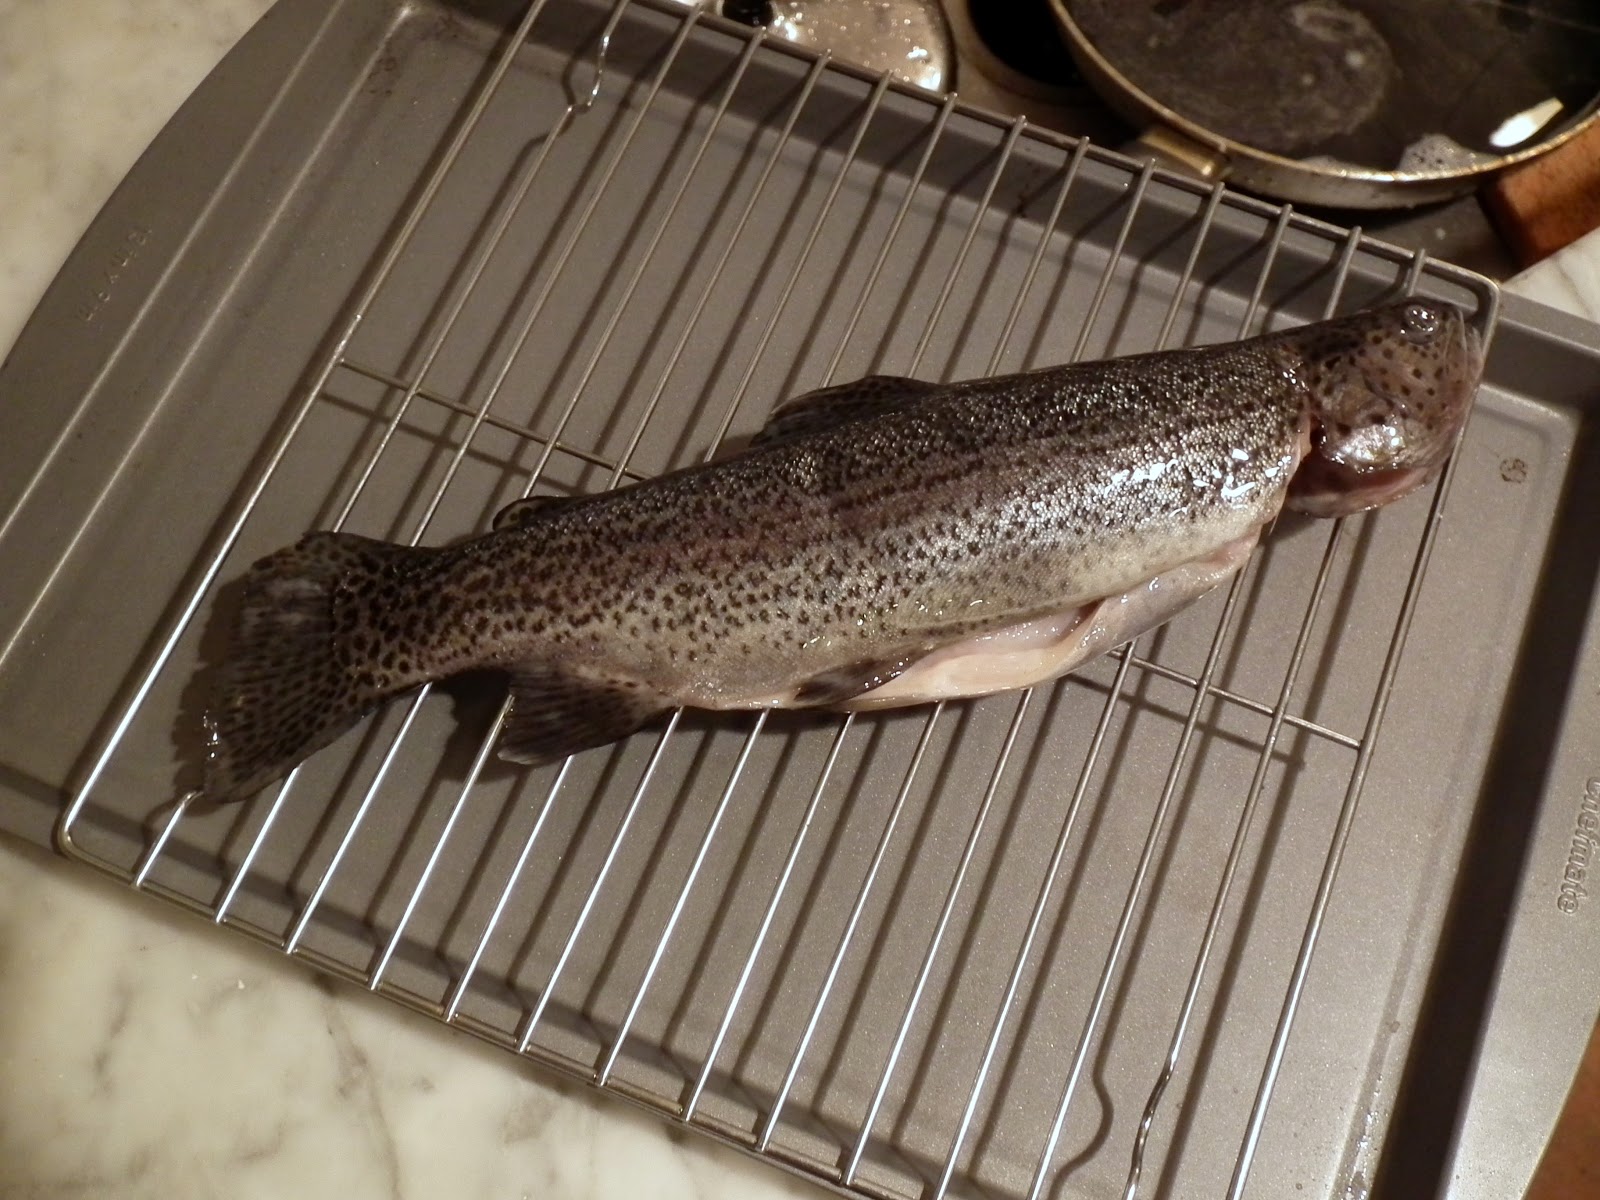
Though we're trying to eat a little more healthy these days, every now and then you need a comforting, rich Sunday dinner.  Since we had potatoes from the share, we went with gnocchi in a rich cream sauce.  Making your own gnocchi may seem daunting, but its actually fairly simple.

To start, poke your potatoes with a fork so the steam can escape, and pop them in the oven for about an hour.  You want them to cook up, and for the moisture to escape.  Otherwise your dough will be sticky and heavy.  Once they're out of the oven, peel them, and push them through a ricer, if you have one.  We don't, so we just made sure there weren't any big lumps of potato.
To the potatoes, you'll add a couple egg yolks, some flour, grated cheese (we used pecorino), and some salt.  Since we were going all out, we used a combination of kosher salt and truffle salt.  Gradually add the flour in, as needed.  You want the dough to pull away from the bowl and not feel sticky.  When you reach that consistency, stop adding flour, and start rolling out ropes of dough.
Then you can start cutting the ropes into the gnocchi.  We put our gnocchi board to use to give each one the little ridges, but you can also just roll them down the back of a fork.  Place them on a floured tray or plate until you're ready to cook them.

 Cooking them is really simple.  Just boil a pot of water, as if you were making any other kind of pasta.  Be sure to salt the water too.  Once it's boiling, drop in a bunch of the gnocchi.  You'll probably have to do a few batches so you don't over crowd the pot.  They'll tell you when their done by floating to the surface.  Fresh pasta takes a little longer than dried pasta to cook, about 3-4 minutes instead of the two or so for the dried.  Then just scoop 'em out and place them in a bowl until you're ready to toss them in your sauce.
For the sauce, Justin whipped up one of his signature sauces.  It starts with some brown butter, shallots, and garlic.  Then you add some cream, pecorino, sun-dried tomatoes, mushrooms, and sage.  We also added a splash of truffle oil.
Once all of those flavors melded together, we were ready to add toss the gnocchi in it.  We saved a bit of the starchy water the gnocchi was cooked in and added some to the sauce.  The sauce had started to thicken anyway, but the starchy water also helps the sauce adhere to the pasta.  So you should do this anytime you cook pasta.  Once the water was mixed into the sauce, we dumped the gnocchi into the pan so they could get coated in the sauce as well.
To finish off each plate, we sprinkled on some crisped guanciale, a little more pecorino, and some fried sage.  It's such a rich, and filling dish, but so full of flavor.
This was a perfect dish for Oscar night, it had the glitz and glam of Hollywood from the truffle, and was hearty and comforting just like a night on the couch.

February 23, 2013

Don't Worry -- We Got Chimichurri!

We found ourselves with quite a bit of cilantro in the fridge, some from the last couple shares, and also from the grocery store, and we needed to figure out how to use it all.  We decided to put a spin on chimichurri, and rather than use parsley as the primary herb, we used cilantro.  Chimichurri is a traditional Argentinian condiment, much like pesto, used to top steaks.

So here we go...we started with the chimichurri, using this recipe as a base.  So cilantro was the star, but we balanced it out with some mint we'd picked up for the rutabaga, and some parsley we trimmed off our plant.
All of these guys went into the food processor with some garlic, red wine vinegar, olive oil, salt & pepper, and a touch of lemon zest.  It initially came out a bit acidic, so we added a little more cilantro and mint to balance things out.  Oh, and we threw in a dried red chili pepper for a touch of heat (Sorry there aren't more pictures!)

Next came the rutabaga.  It kind of looks like a giant turnip, but it has a slightly sweet taste to it.  We decided to roast the rutabaga, much like we roast our cauliflower, with a little red onion, mint, and pecorino (except the pecorino was at Justin's place...womp, womp!).  The rutabaga was peeled and diced.  Then we simply seasoned it with salt, pepper, grated red onion, a squeeze of lemon juice, and a drizzle of olive oil.  Into the oven they went to roast up.
While the rutabaga was roasting, we also threw the steak in.  We went with a London broil for our cut of meat.  With just a little salt, pepper, and olive oil, it went into the oven for about 5 minutes on each side.
 
Then we transfered the meat to a pan on the stove top to get a nice sear on each side.  The meat sat in the pan for about 90 seconds on each side, and then we let it rest before slicing into.  The meat came out perfectly medium rare.

Once the meat was sliced up, we topped it with the chimichurri.  By the time the steak had finished cooking, the rutabaga was ready to go too.  We just tossed the mint with the rutabaga and plated it up!
 

February 20, 2013

Banh Who? Banh Mi!

Justin's been dying to cook something out of his Eat With Your Hands cookbook that I gave him for Christmas.  So when we got oysters in our share again this week, he jumped at the opportunity to make oyster banh mi.  If you're not familiar with this delicious Vietnamese sandwich, I'll break it down for you.  You start with a nice, crusty baguette, some kind of meat in the middle, pickled vegetables, and pate.  The baguette and the pate harken back to the French influence that once reigned over Vietnam.

So here's our version, ala Zakary Pelaccio...

We started by making a sambal aioli.  We toasted up some shrimp paste (belecan) to take some of the stinkiness out of it.  If you haven't experienced it, you can smell it from across the room, and its a pretty pungent smell.  But it adds a great flavor to dishes.  This was mixed with some chili garlic sauce and our homemade aioli.
For the pickled vegetables, we stuck with carrots and daikon, marinated in a bit of vinegar, fish sauce, honey and cayenne.  This added a bit of acidity, sweetness, and crunch to the sandwich.
The oysters were tossed in a bit of flour, cornstarch, salt and white pepper.  Then we dropped them into the hot oil to fry up.  They were ready in a matter of minutes.
Then it was time to build the sandwich!  We toasted up the buns, and just like we did for our po' boys, I pulled out some of the bread from each side to make little troughs for everything to sit in.  The sambal aioli went on both sides of the bread.  On top of the oysters we laid a few slices of mortadella.  This replaced the traditional pate.  Then some fresh cilantro and some of the pickled veggies topped things off.  To drink, Zak recommended Asahi, but none of our local beer suppliers had bombers of it, and we forgot to pick one up at H-Mart, so we had to come up with an alternate drink pairing. We went with a Vietnamese-style iced coffee.  Since we only had regular coffee, we brewed some up, let it cool, and added it to some sweetened condensed milk.  It wasn't as strong as your typical Vietnamese iced coffee, but it did the trick!
Even though there were so many elements in one sandwich, the individual flavors came through, and played off each other nicely.  The oysters were sweet, the mortadella added a little saltiness, there was some spice from the aioli, acidity and crunch from the pickled vegetables, and freshness from the cilantro.  Not to mention the crusty, toasty bread.  It's definitely the best banh mi we've had in DC!