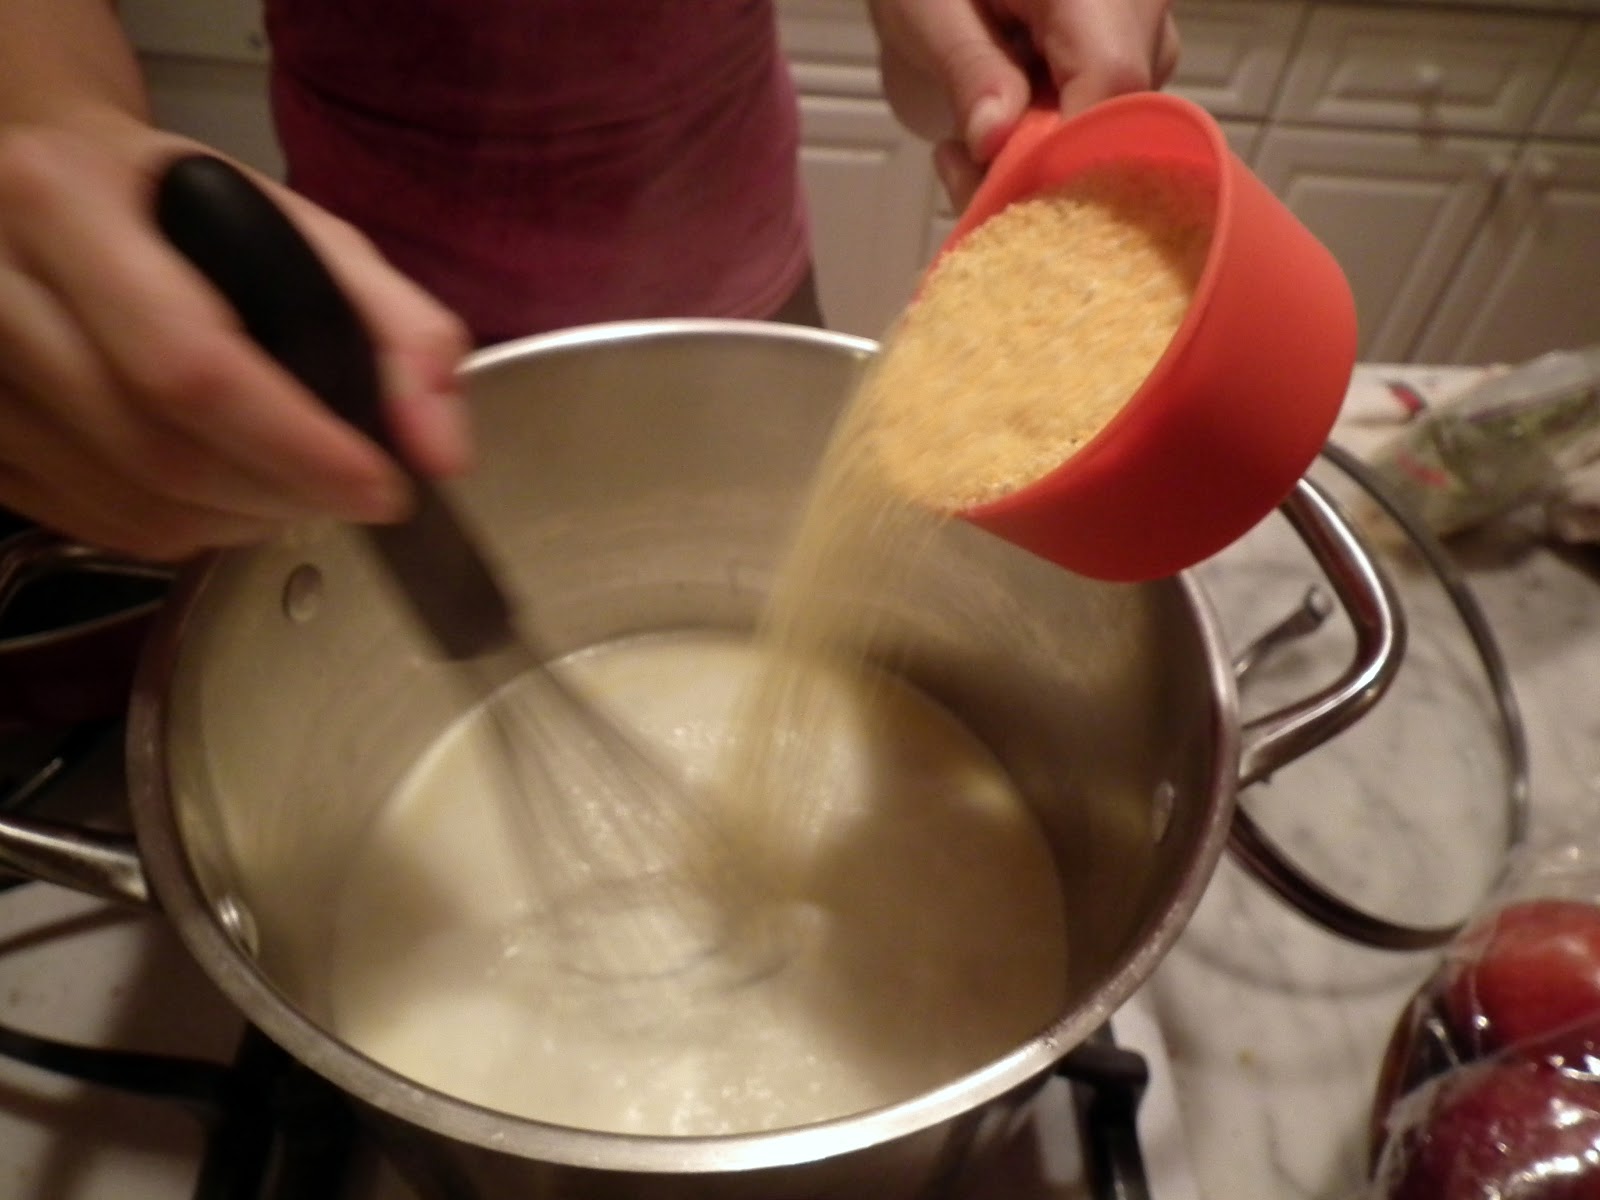
Start by mixing your quick acting yeast, water, salt and honey in a bowl. Add that to your bowl of bread flour, and start mixing. Our dough came together in a matter of minutes. Let it rest for about 5 minutes, and then give it another spin in the mixer for 3 minutes.


 You'll need to pull your bagels out of the refrigerator at least an hour before you're ready to cook them. So we pulled them out of the fridge and then went for a run! Get your poaching liquid ready on the stove by boiling a pot of water that's at least 4 inches deep. Once it starts to boil, reduce the heat, and stir in your salt, baking soda and honey. You'll notice it starts to smell like delicious bagels! While the water is coming up to a boil, you can test your bagels. In a bowl of cold water, drop in one of your bagels. If it floats to the top, you're ready to go.
Once your poaching liquid is ready, carefully drop in as many bagels as will fit in your pot without overcrowding it. They should float right on top of the liquid. After 1 minute, flip the bagels, and let them poach for another 30 seconds. Then pull them out of the liquid with a slotted spoon, and place back on the oiled parchment paper, domed side up. Continue poaching until all your bagels have touched the liquid.

Now it's time to add your toppings! If you want to use dried onion or garlic, be sure to rehydrate them so they don't burn in the oven. We made 2 roasted garlic salt and onion bagels, 2 poppy and sesame seed bagels, and 1 everything bagel.
 Then just pop them into a 450 degree oven for about 8 minutes. Then rotate your pan, and cook for another 8 minutes, or until they are golden brown. Place them on a cooling rack for about 30 minutes before you cut into them. This is probably the hardest part...waiting.
And now...how to build the perfect bagel. This comes from years of practice! Start with your cream cheese. We both like whipped cream cheese because it's so light and fluffy. Then put your capers on. They add a nice brininess, and since they're right on top of the cream cheese, they won't roll away.