Showing posts with label turkey. Show all posts

January 5, 2014

Everybody Loves Ramen!

We've had some cold weather around these parts, and a freezer full of turkey meat and turkey stock. So to kill two birds with one stone and use up our turkey, and warm our bellies, we decided to try our hand at making our own ramen.  We transformed this American fall classic into a Japanese-influenced cold weather delight.

To our basic stock, we added some mirin, garlic, soy sauce, and some white pepper.  Since our stock was pretty thick, we also added some water to give it the right consistency.  Let it simmer and reduce to about half.  We also threw in some of the shredded turkey we had on hand.
Once your broth has reduced, throw in your noodles.
Once they started to soften, we added in our chopped baby bok choy and some sliced scallions.  We wanted to keep some crunch to the bok choy, so we added them at the end.  If you want them to soften more, you can add them earlier.
Once the noodles are al dente, you're ready to serve!  We topped our ramen with some strips of nori for some added umami punch.
It was a nice and hearty bowl of soup, perfect for a cold winter's day!  It was a great change of pace from other turkey leftovers, and the flavor was comparable to the real thing.  Look for us to try a more traditional tonkotsu ramen in the future.

December 10, 2013

It's Pie Style Jack II: The Em"pie"re Strikes Back!

If you're like us, you've probably spent the week after Thanksgiving eating nothing but leftover turkey and side dishes.  In an effort to not just recreate our Thanksgiving dinner plates, we got creative and turned our leftovers into turkey pot pies!

We started by quartering a few potatoes and peeling a few leftover carrots, and popping them into the oven to roast them for about 15 minutes.  Since they typically have a longer cook time, roasting them first helps minimize the time your pot pies need to be in the oven.  Plus, it gives them a nice roasty flavor.
While those are roasting, you can make your dough to top your pies.  We kept it simple by combining 1 cup of flour with 1 cup of chilled butter, and a splash of vodka.  Try not to overmix the dough, as you want the butter to stay as cold as possible.  Once our dough came together, we wrapped it in some plastic wrap, and stuck it in the freezer to get it cold again.  This will help give you a nice, flaky crust.  If you're making your dough in advance, you can just keep your dough in the fridge.
Once the dough was chilling, we started building our pies.  We chopped up some fresh onion, and dropped them into our little bowls.  Then, each bowl got a healthy spoonful of our leftover green bean casserole.
Then we chopped up some turkey meat, and added those to each bowl.  At this point, the potatoes and carrots were also done, so we chopped those into smaller pieces and tossed them in the bowls as well.
The one thing that was missing was a bit of a gravy.  So we added in a few spoonfuls of our turkey stock, as well as a splash of milk.  Then give everything a little toss and turn in the bowl so it's all mixed up and coated in the stock and milk.

Then, just role out your dough, cut it into circles wide enough to top your bowls.  Make sure you cut slits in the top to so the steam can escape (clearly the 2 on the right were our first crusts).  You also want to beat an egg and brush each crust with the egg wash.  This will give you a nice, golden brown crust.
Be sure to place your pies on a baking sheet to catch any gravy that may spill out of your pies.  Pop them into a 350 degree oven for about 15 minutes, or until your crusts are cooked through, and golden brown.
The crust was buttery and really flaky, almost like a biscuit.  It was the perfect topper for our pot pies, and a great way to repurpose our leftovers.

December 8, 2013

I. Wanna Stock and Roll All Night!

We're all about using as much of an animal as possible when we cook, and not letting anything go to waste.  So once we sliced as much turkey off the bone as we could, we threw the carcass into a stockpot with some water to make a delicious stock.  Just like we did with the pig head last Christmas, the turkey bones sat on the stove for a good 4 hours.

It's really easy, and you can do this with any bones, whether you've got a chicken, shrimp/lobster shells, fish bones...you can make a pretty mean stock out of just about anything.  Since we knew we'd mostly be using the stock for soups, we also threw in some celery stalks, carrots, and a bundle of sage, thyme and rosemary.  If you want a more plain stock, you can leave those items out.  Then just fill your pot with enough water to cover the bones.
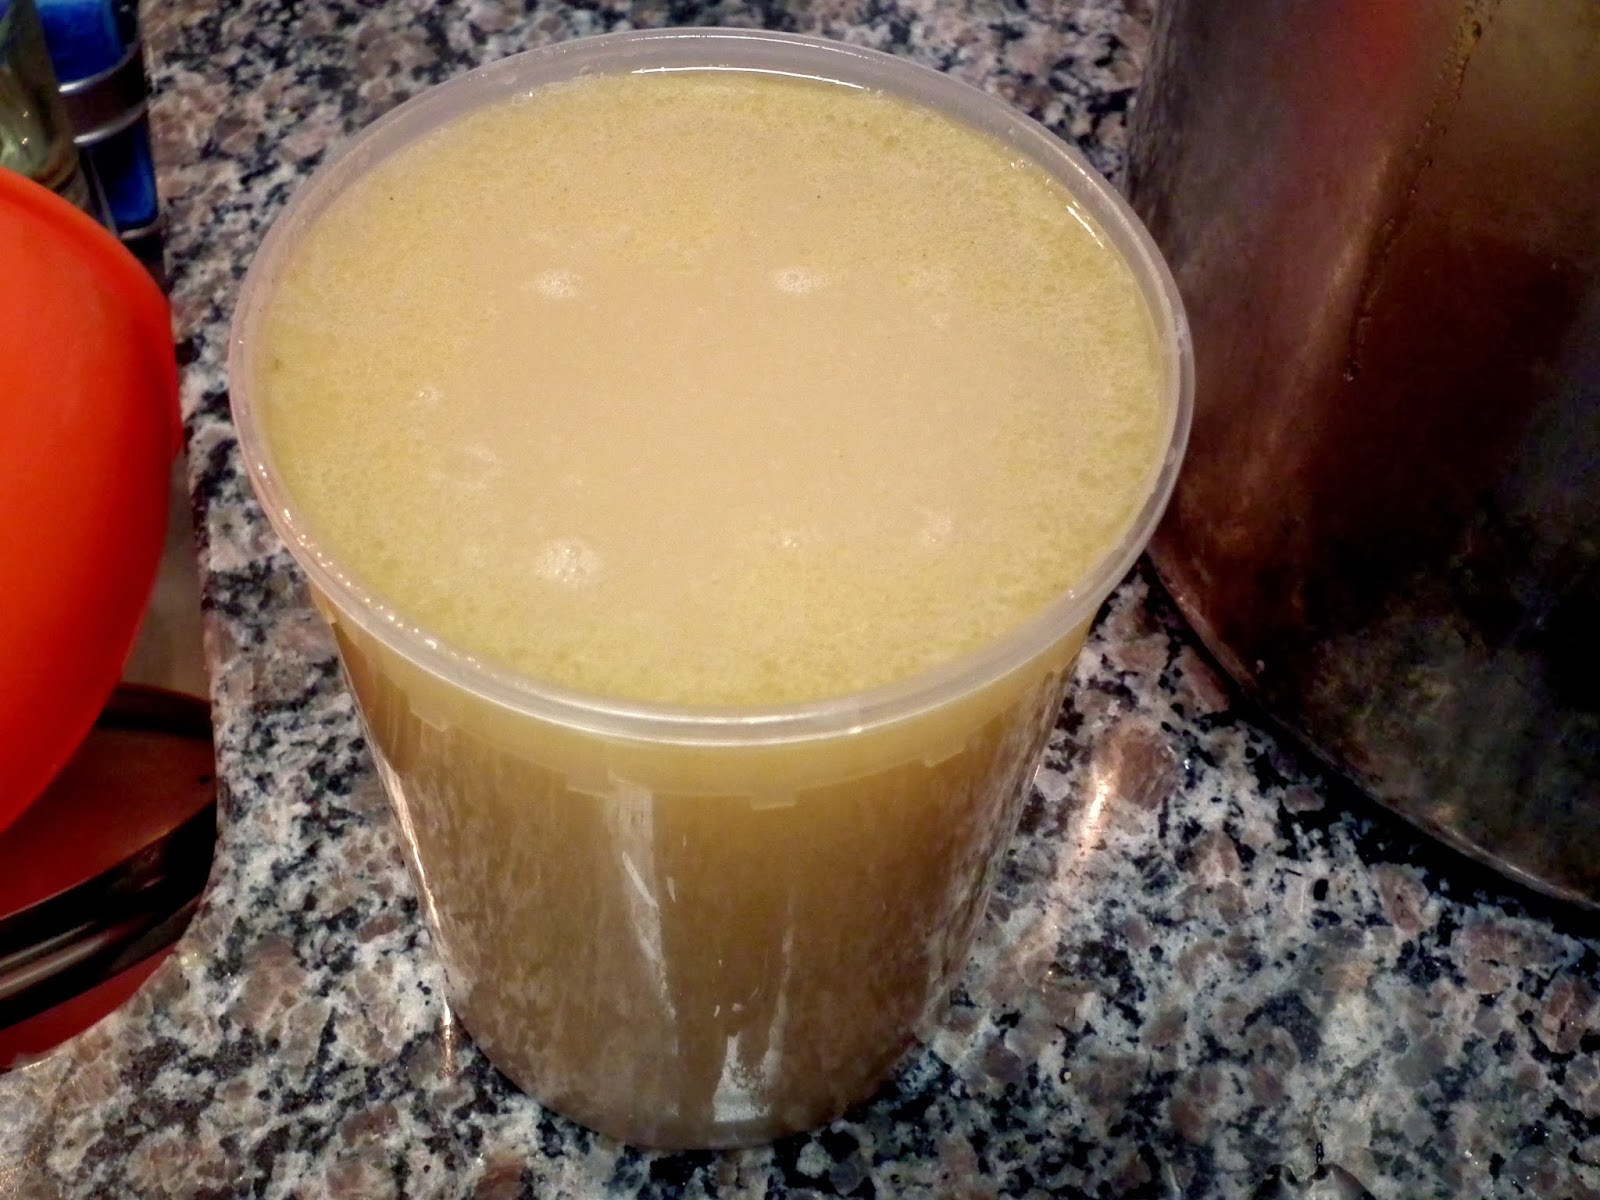
Let it simmer away for 3-4 hours.  Any meat that was left on the bones will fall right off, and you'll be left with a rich, delicious stock.
You'll want to first pull out as much meat as you can.  I first tried using a slotted spoon, to separate the meat from the liquid, but that was taking too long.  I then changed up my method, and just poured the contents of a pot through a strainer.  The liquid went into a plastic container, and the meat was in the strainer.  That allowed me to just pick out the celery and any small bones that had separated from the carcass.  

Once you've separated out the big chunks of meat, towards the bottom of the pot, we switched to using a finer mesh strainer.
We were left with several containers of stock, and bowl of shredded turkey.
Since we knew we wouldn't be making soup right away, we put the turkey into a plastic bag, and put him in the freezer for safe keeping.  We kept one small container of stock in the refrigerator, but the rest went into the freezer as well.  So now we have the makings of a delicious soup!

December 4, 2013

To Brine, or Not to Brine?

I grew up always having a smoked turkey for Thanksgiving, which was easy to do when we lived in California.  After moving back east, colder weather came into play, and usually put a damper on our smoking plans, which is exactly what happened this year.  With about a week to go until the big day and a projected temperature of only 38 degrees, smoking the turkey just wasn't in the cards, and we resorted to oven roasting the bird.

Many people will recommend brining the turkey, to help retain moisture, particularly in the breast meat.  Wet brines are fine and good, but they require a lot of space in your fridge, and can leave your meat with a slightly mushy texture.  Instead, we tried a dry brine, which we found here.  One perk to dry brining is that you can apply the brine while your turkey is still frozen!  This was a huge time saver for us, since it took about 3.5 days for our turkey to completely defrost.

First, you'll want to get your brine ready.  As the recipe suggests, you want about 1 tbsp. of salt for every 5lbs. of turkey.  We had a 16.6lb. turkey, so we used a little more than 3 tbsp. salt.  Because we still wanted to try and get a smokey flavor, we used 2 tbsp. of applewood smoked salt, and 1 tbsp. kosher salt.  In addition to the salt, we added in some smoked paprika, again for some smokiness, along with some chopped thyme, rosemary, sage, and juniper berries, which we crushed in our mortar and pestle.

Now it's time to rub it all over your turkey!  Since our turkey still had to defrost, we placed him in a brining bag.  That way it would collect the water, and it'd be easy to dispose once Thanksgiving day came.  Before rubbing your salt mixture on the bird, be sure to pat him dry with paper towel to get rid of any excess moisture.  Also make sure that any gizzards and organs have been removed from the cavity.  Sprinkle a bit of your salt & spice mixture in the cavity too.  Then you'll want to use about 1 tbsp on the breasts, and 1 tbsp on each leg/wing/thigh.  If your turkey is defrosted already, be sure to get in all the crevices.

Once you've rubbed him down, you can seal up the bag.  Try to get as much air out of the bag as possible.  It can be a little tough, so it's best to have an extra set of hands to help you do this.
Now you can just pop your bird into the refrigerator, breast side up, for 3 days, and let the salt work its magic.  If you remember, give your turkey a little massage each day.  We massaged ours through the bag, just to keep our hands clean.
After the 3rd day, you'll want to remove him from the bag, and refrigerate him for at least 8 hours, uncovered.  We first put the brine on our turkey on Monday, so Wedensday night, before we went to bed, we took him out of the bag, gave him one last massage, and let him sit overnight, uncovered, in the fridge.


At least 1 hour before you're ready to cook your bird, be sure to take him out of the fridge, and let him start to warm up.  We also gave him an additional dusting of my Grandpa's secret rub, the one he'd use on his smoked turkeys.  As when roasting a chicken, we prepared some aromatics to put in the cavity to add a bit of flavor, and also keep the breast moist.  We stuck to traditional ingredients here, roughly chopping up some carrots, onion, celery, and lemon, and making a bundle of rosemary, sage and thyme.


We stuffed what we could into the cavity, and the rest went into the bottom of the roasting pan, so we'd get some added flavor to the pan drippings, in case we wanted to make gravy later.  Also make sure to tie the legs together, closing up the cavity as much as you can.  This will also help prevent the meat from drying out.

Now you're ready to roast!  Heat up your oven to 425 degrees, and place your bird, breast side down, on your roasting rack.  I know this is atypical, but trust us, it works!  We also brushed some softened butter onto the skin of the turkey to help it brown.  When you're oven comes to temperature, throw your bird in for 30 minutes.  This will help get the bottom nice and brown.
After 30 minutes, pull your bird out of the oven and flip him over.  Remember that the pan and bird are extremely hot.  Be sure to have oven mitts or dish towels handy to help you flip the bird without burning yourself.  While you're trying to flip the bird, you'll also want to lower the oven temperature to 325 degrees.  Give him another coat of butter, and pop him back in the oven until a thermometer, stuck into the thickest part of the thigh, reads 160 degrees.
For us, it took about 2.5hrs. more.  Most will say that poultry needs to be cooked to an internal temperature of 165 degrees, but we knew that if we pulled him out when he reached 160 degrees, the carry-over cooking would bring him up to 165.
Be sure to let him rest for at least 30 minutes before you start carving into him.  While he's resting, you can give him a foil tent to keep him warm, and you can now use the oven to cook your side dishes, like our green bean casserole.

The dry brining method was a success!  The breast stayed nice and moist, and the smoked salt we used added a subtle smokiness to the meat.  It was a great alternative to actually smoking the turkey.

January 20, 2013

Today's Forecast: Chili with a chance of deliciousness!

With the impending inauguration tomorrow, we're hunkering down at home, avoiding the crowd and all the out of town escalefters (for those not familiar, an escalefter is someone that stands on the left side of the escalator, preventing you from walking up/down the escalator).

So with a Sunday night of football, what better meal to make than chili?  Plus, it means I get to try out my new crock pot that Justin gave me for Christmas.  Oddly enough, this is my first go-round with a crock pot.

We started with half a package of ground turkey (the other half from when we made burgers), and some ground beef.  We also threw in a chopped white onion and let it all cook up.  For spices, we tossed in cumin, cayenne, and chili powder.
While that was browning, we threw some tomatillos, a huge clove of elephant garlic, an Anaheim chili, a poblano chili, and a habanero into the oven to roast.  The oven was set at 350, and it only took about 20min for everything to get roasty, toasty and charred.
Once they were cool enough to handle, I chopped them up so they could be added to the pot.  We also drained and rinsed a can of kidney beans, cannellini beans, and corn.
After the meat browned, we added the roasted peppers, tomatillos and garlic, and the beans and corn.  There wasn't as much liquid to our liking, so we threw in a can of whole tomatoes.  With a good toss, so everything got coated in the spices and juices, and a sprinkle of red pepper flakes, we put the lid back on and let it simmer so all the flavors could meld together.
 
While the chili was simmering, we threw together some honey hush cornbread, ala Dinosaur Bar-B-Que.  I know I've said it once before, but I'm going to say it again...if you find yourself in Harlem, Syracuse, or Rochester, NY, you MUST find your way to Dinosaur Bar-B-Que.  They have the best, melt-in-your-mouth brisket you could ever imagine!

Anyway...the cornbread.  We just followed the recipe I linked to above...mixed up all the ingredients, popped her in the oven and let her bake up.

The chili was topped with some shredded cheddar, a dollop of cilantro lime crema, and some freshly chopped cilantro.

January 19, 2013

Flippin' Burgers

When I first really got into cooking, I was (and still am) a fan of Rachael Ray.  Her recipes were easy and used common, everyday ingredients, and she made cooking look fun and easy.  And it turns out Justin had a bit of a crush on her too (which I can kinda see, she rescues pitbulls, can cook, and has delightful catchphrases such as "yum-o").  Anyway...one of the few recipes of hers that I still make are her spanikopita burgers.  The spinach and onions keep the turkey juicy, and the feta gives the burger a nice saltiness.  To kick up the Greekyness, I like to top them with homemade tzatziki.

So here goes...

Start by chopping up some red onion and garlic and get that sauteing in a pan.  Once they become really fragrant, and the onions are translucent, set them aside to cool.

For the spinach component, I take the easy route and just use frozen chopped spinach.  Once its defrosted, you'll want to wring out all the water so your burgers don't become soggy.  Just like I did with the kohlrabi the other night, you'll want to put the spinach into a dish towel, and just wring it out.
You'll be surprised by how much water comes out of the spinach.  To quote Justin, "The spinach is peeing!"  Yes, we're like 5 year olds sometimes :)

Once you've gotten as much water out of the spinach as you can, toss it in the bowl with your ground turkey.  Then you add in some feta crumbles, and the spices.  This time we went with salt, pepper, oregano, parsley, a little rosemary, and some dill.  Now its time to get down and dirty and mix everything together so all the ingredients are evenly distributed.  Then you're ready to make your patties and cook 'em up!
While the burgers were cooking, we made the tzatziki.  I like to grate the cucumber so its easier to get the water out of it, but Justin took the time to slice it really thin.  If you have a decent amount of time on your hands, you can sprinkle the cucumber with salt and let the water leach out of it.  But if you're making it while the burgers cook, you can squeeze out the cucumbers just like you did with the spinach.  Otherwise your tzatziki will be runny, and nobody likes runny tzatziki.

My mini food processor was the perfect size for the amount of yogurt we had left.  We just used non-fat plain yogurt on hand, but I prefer to make it with Greek yogurt.  It just adds an extra bit of tang, and its a little thicker than plain yogurt.  Regardless, either will work just fine.  So into your food processor, toss the yogurt, some garlic, the cucumber, fresh dill, a splash of lemon juice, and some salt and pepper.  Puree it all together until the garlic and cucumber are finely chopped.  And there you have it.  Piece of cake!

Sometimes when I make these burgers, I like to make a little salad to top the burgers.  This usually consists of sliced tomatoes, pepperoncini, red onion, and some arugula, dressed lightly with olive oil and red wine vinegar.  The only thing I had on hand this time were the pepperoncini, so I just sliced up a few for a little added spice.

And because you have to have fries with your burgers (I'm pretty sure there's a rule written somewhere to that effect), we made some sweet potato fries as our side.  And we had plenty of extra tzatziki leftover for dipping!