Showing posts with label chili. Show all posts

July 10, 2013

Hey--It's a Whole Lotta Jicama (and corn too)!

As promised, we're back with a quick run down on how to throw together the jicama slaw and grilled corn that accompanied our brisket for the 4th of July.  Both were really simple.

Let's start with the jicama.  If you're not familiar with it, it kind of resembles a root vegetable.  It's fairly starchy, but has the crispness of a radish, but is sweet, rather than spicy.  It's mostly common in Latin American cuisine.  In the grocery store, you'll typically find it near the onions.  Start by peeling it, and then slicing it into matchsticks.  We went with a medium sized bulb of jicama, and ended up with plenty of slaw for  the four of us.  So depending on how many people you're serving, you may want to go for a larger/smaller bulb.

Next, we chopped up some red cabbage.  I just pulled off the leaves of the cabbage, stacked them on top of each other, and got to slicing.  You'll want an equal ratio of jicama to cabbage.  You also want you cabbage strips to be about the same size as your jicama sticks, so you may need to cut your leaves in half, like I did, before slicing them into strips.

And for the red component of the slaw (could you tell we were going for a patriotic side dish?), we roasted a red bell pepper on the grill.  You'll want to throw it on the grill for about 15-20 minutes, until the skin is nice and charred, and the pepper has softened.  Pull it off the grill, and once it's cool enough to handle, you can peel the skin off.  Then just slice it into strips.

The dressing was equally as simple.  Just mix together some sour cream,
rice wine vinegar, mirin, lime juice, lime zest, cilantro, and chili powder.  I think we used about a 1/2 cup of sour cream for all those veggies.  Make sure when you mix up your dressing, you give it a taste before pouring it over your slaw.  The vinegar, mirin, and lime juice will help thin out your dressing too.  Then pour it over your slaw, and give it a good toss so all the veggies are evenly coated.  If you're like me, and you don't like your slaw swimming in dressing, gradually add your dressing to your veggies so you don't run the risk of over dressing them.

Onto the corn!  During the summer, I hate to use a lot of indoor appliances because they just heat up the kitchen.  So grilling corn outdoors is a great alternative to just steaming them on the stove.  It gives this grain a nice smoky flavor as well from browning the husks.  First, you'll need to remove the silk from each ear of corn, while leaving the husk in tact.  The best way to do this is to peel back the husk down to the base, 1 leaf at a time, until the ear of corn is exposed and you can remove all the silk.  Then you can just cover the ear back up with the husk and move onto the next ear.


In order to not burn the husks, you'll want to soak your corn in water, just like you would with wooden skewers if you were making kebabs.  This keeps the husks moist enough to not catch on fire.  When you're ready to grill them, make sure all the water has drained out of the corn, and then simply put them on the grill for about 15-20 minutes, rotating them frequently.
Once their done, and are cool enough to handle, you can remove the husks.  We then squeezed some fresh lime juice over each ear, sprinkled on some chili powder and cilantro, and topped each ear with some queso fresco.  This was our take on a traditional Mexican street food.
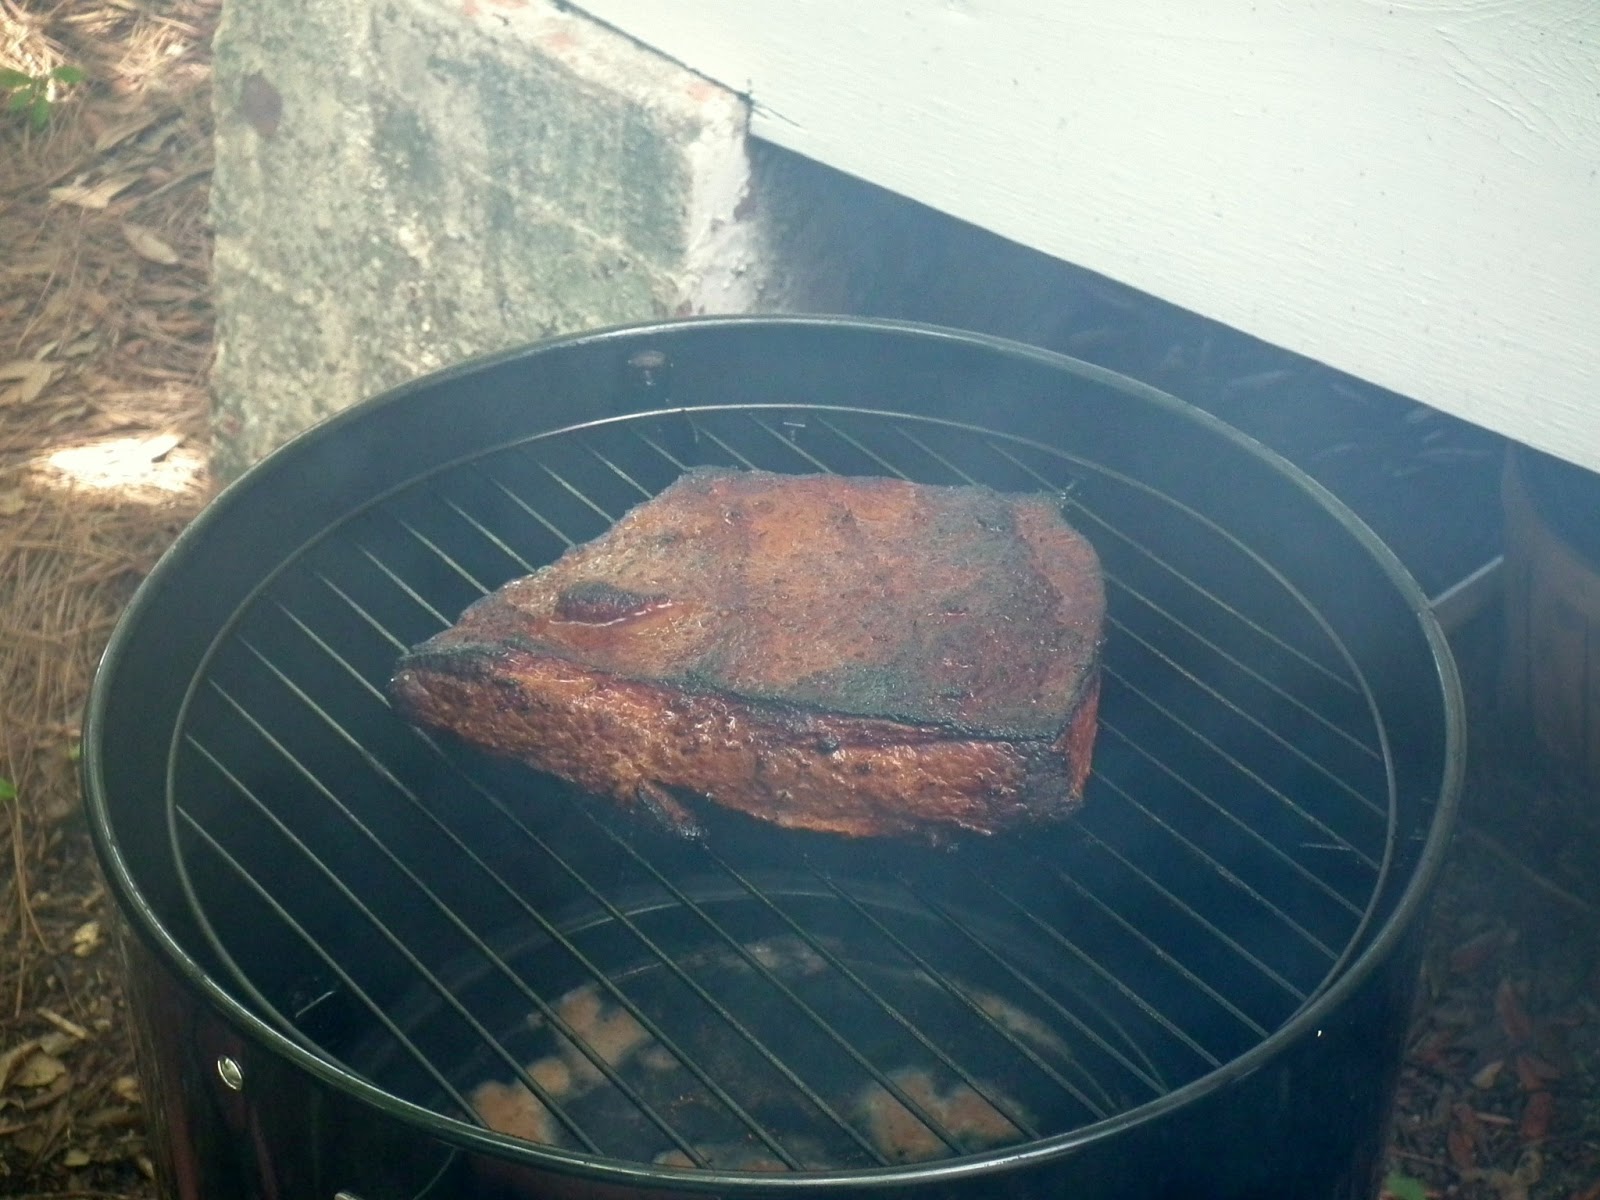
Both the jicama slaw and grilled corn were nice, light accompaniments to our delicious smoked brisket, and would be great for any backyard cookout this summer!

July 8, 2013

It's Smooooookin'!

4th of July wouldn't be complete without throwing something on the grill or in the smoker, so we did just that.    We fired up the smoker with cherry and hickory wood chips, and got it nice and warm for our brisket.  For our smoking liquid, we filled the pan with a mixture of water and beer.  While the smoker heated up, we prepped our brisket.  We started with a dry rub, consisting of all these tasty spices:
R to L: black pepper, thyme, red chili flake, garlic powder, brown sugar, paprika, mustard powder,  chili powder, salt, white pepper, cumin
We really just poured and mixed until it tasted great.  We ended up with about 1.5 cups of the spice rub, which was plenty to rub on the brisket and add to the sauce, while still having extra for next time.  Our rub had a subtle heat that came at you from the back.

We poured a bit of vegetable oil on the brisket, and rubbed him down with our spice mixture.  Be sure to massage it in to help tenderize the meat too.
Then you're ready to throw it on the smoker.  As it cooks, make sure to periodically check on it.  We didn't have a sauce mop, but we did have a squirt bottle with some apple cider vinegar, Worcestershire, and a dash of soy sauce and liquid smoke,  which we used to keep the meat moist and give it a bit of added tang.  We put our meat on fat-side up.  Conventional wisdom from the pit dictates that by smoking fat side up, the delicious beefy drippings permeate the meat and wash over it as you baste it.
Now with good BBQ, the meat should be the hero (aka Michael Jordan), but a winning sauce is like your Scottie Pippen and Dennis Rodman; they provide some flavor and allow the star to shine.  If you've been following along, you'll know we're huge fans of Dinosaur Bar-B-Que.  They make the most amazing brisket I've ever had.  It just melts in your mouth!  So we turned to them for inspiration on the sauce, and found a recipe online for a variation on their wango tango sauce.  We started by mincing up the onion, peppers and garlic.  You could use a food processor to get tiny pieces, but I like chopping by hand.  In this step, we substituted an anaheim pepper for the green pepper, and we used 2 habaneros so as not to overpower the sauce with spice.  We also toasted up some mustard seeds before adding in the peppers and onions to saute.
Once the peppers and onions had cooked for about 15 minutes, and really softened, we added in the garlic. While that's all cooking down, we mixed together the remaining ingredients.  We stuck pretty close to the recipe, but used slightly less ketchup, added a couple shots of bourbon, and a few tablespoons of our dry rub.
Just pour the wet ingredients into your onion/pepper/garlic mixture and let it simmer for about 15 minutes. Bring it to a boil, add in your liquid smoke, and let the sauce do its thing. The flavors really developed the longer the sauce simmered.  It has a nice heat and sweetness to it, without being overpowering.
Now, for the hard part...the waiting! A general rule of thumb for smoking time is about 1.5 - 2 hours per pound of meat.  We had a nice 3 pound brisket so we had it cooking for about 5 and a half hours.  You'll often hear about people smoking meat for 18 hours, and there is much debate in the BBQ community about this, but they use hunks of meat the size of a chevy suburban.  The important part is to get a nice piece of meat with a uniform fat cap on it.  If your smoker has a thermometer, try to keep your temperature at about 220-250 degrees.  You'll know it's done when the meat is firm and has a nice smoky crust on it.  Then just let it rest for at least 5 minutes, and slice it up.
Then toast up some buns and start piling on the meat!  For sauce, we used some of our wango tango-inspired sauce, and also mixed some in to our vinegar basting liquid to have a vinegar-based sauce as well, to keep things NC-style.  To round out the meal, we baked up some sweet potato fries, grilled up some asparagus and corn, and make some jicama slaw.  We'll be back later this week with details on the slaw and corn.

January 20, 2013

Today's Forecast: Chili with a chance of deliciousness!

With the impending inauguration tomorrow, we're hunkering down at home, avoiding the crowd and all the out of town escalefters (for those not familiar, an escalefter is someone that stands on the left side of the escalator, preventing you from walking up/down the escalator).

So with a Sunday night of football, what better meal to make than chili?  Plus, it means I get to try out my new crock pot that Justin gave me for Christmas.  Oddly enough, this is my first go-round with a crock pot.

We started with half a package of ground turkey (the other half from when we made burgers), and some ground beef.  We also threw in a chopped white onion and let it all cook up.  For spices, we tossed in cumin, cayenne, and chili powder.
While that was browning, we threw some tomatillos, a huge clove of elephant garlic, an Anaheim chili, a poblano chili, and a habanero into the oven to roast.  The oven was set at 350, and it only took about 20min for everything to get roasty, toasty and charred.
Once they were cool enough to handle, I chopped them up so they could be added to the pot.  We also drained and rinsed a can of kidney beans, cannellini beans, and corn.
After the meat browned, we added the roasted peppers, tomatillos and garlic, and the beans and corn.  There wasn't as much liquid to our liking, so we threw in a can of whole tomatoes.  With a good toss, so everything got coated in the spices and juices, and a sprinkle of red pepper flakes, we put the lid back on and let it simmer so all the flavors could meld together.
 
While the chili was simmering, we threw together some honey hush cornbread, ala Dinosaur Bar-B-Que.  I know I've said it once before, but I'm going to say it again...if you find yourself in Harlem, Syracuse, or Rochester, NY, you MUST find your way to Dinosaur Bar-B-Que.  They have the best, melt-in-your-mouth brisket you could ever imagine!

Anyway...the cornbread.  We just followed the recipe I linked to above...mixed up all the ingredients, popped her in the oven and let her bake up.

The chili was topped with some shredded cheddar, a dollop of cilantro lime crema, and some freshly chopped cilantro.