Showing posts with label cilantro. Show all posts

September 27, 2013

Eat a Fleet a Fajitas!

With the dog days of summer winding down, we're trying to use the grill as much as we can before Fall really sets in.  We had a craving for some steak, so we decided to make some fajitas and grilled corn.  We wanted to mimic the flavors of carne asada, so we marinated our flank steak with beer, garlic, lime juice, cumin, cayenne pepper, jalapeno, chipotle in adobo, salt and pepper.
You can do this the day before and let it sit overnight, or if you forget (like us), just get your meat in the marinade asap, and prep everything else.  Our meat ended up marinating for about 90 minutes.  For veggies, we sliced up some bell peppers and onions, and just sauteed them on the stove with salt and pepper.

We also had a few poblano peppers from our share, so we drizzled some olive oil on them, sprinkled them with salt and pepper, and threw them on the grill to roast up.  We also thew a few ears of corn on the grill for our side dish.
We knew the steak would only take a few minutes on each side to cook to a nice medium rare, so we waited until the peppers and corn were just about done to throw the meat on the grill.
We thought of preparing the corn like we did on the 4th of July, with cayenne, lime and queso fresco, but I wasn't pleased with how the cheese didn't really stick to the corn (like in the Aaron Sanchez commercial).  So we modified the preparation and made it into a salad.  Just cut the kernels off the cob, and toss with a dash of cayenne, crumbled queso fresco, chopped cilantro, and a squeeze of lime juice.  You get all of the same flavors, but it's much easier to eat, and get all of the components in one bite.
While the meat was resting, I peeled the roasted poblanos and sliced them into strips.  I also sliced up some lime wedges and chopped some cilantro.  Our tortillas were warming in the oven too.  Then just build your fajitas, and dig in!
The meat was nice and juicy, and still had great flavor even though it didn't marinate very long.  You had a nice smokiness from it being on the grill, some heat from the poblanos, but sweetness from the onions and bell peppers.  It's a pretty quick and easy summertime meal that takes you south of the border.

August 24, 2013

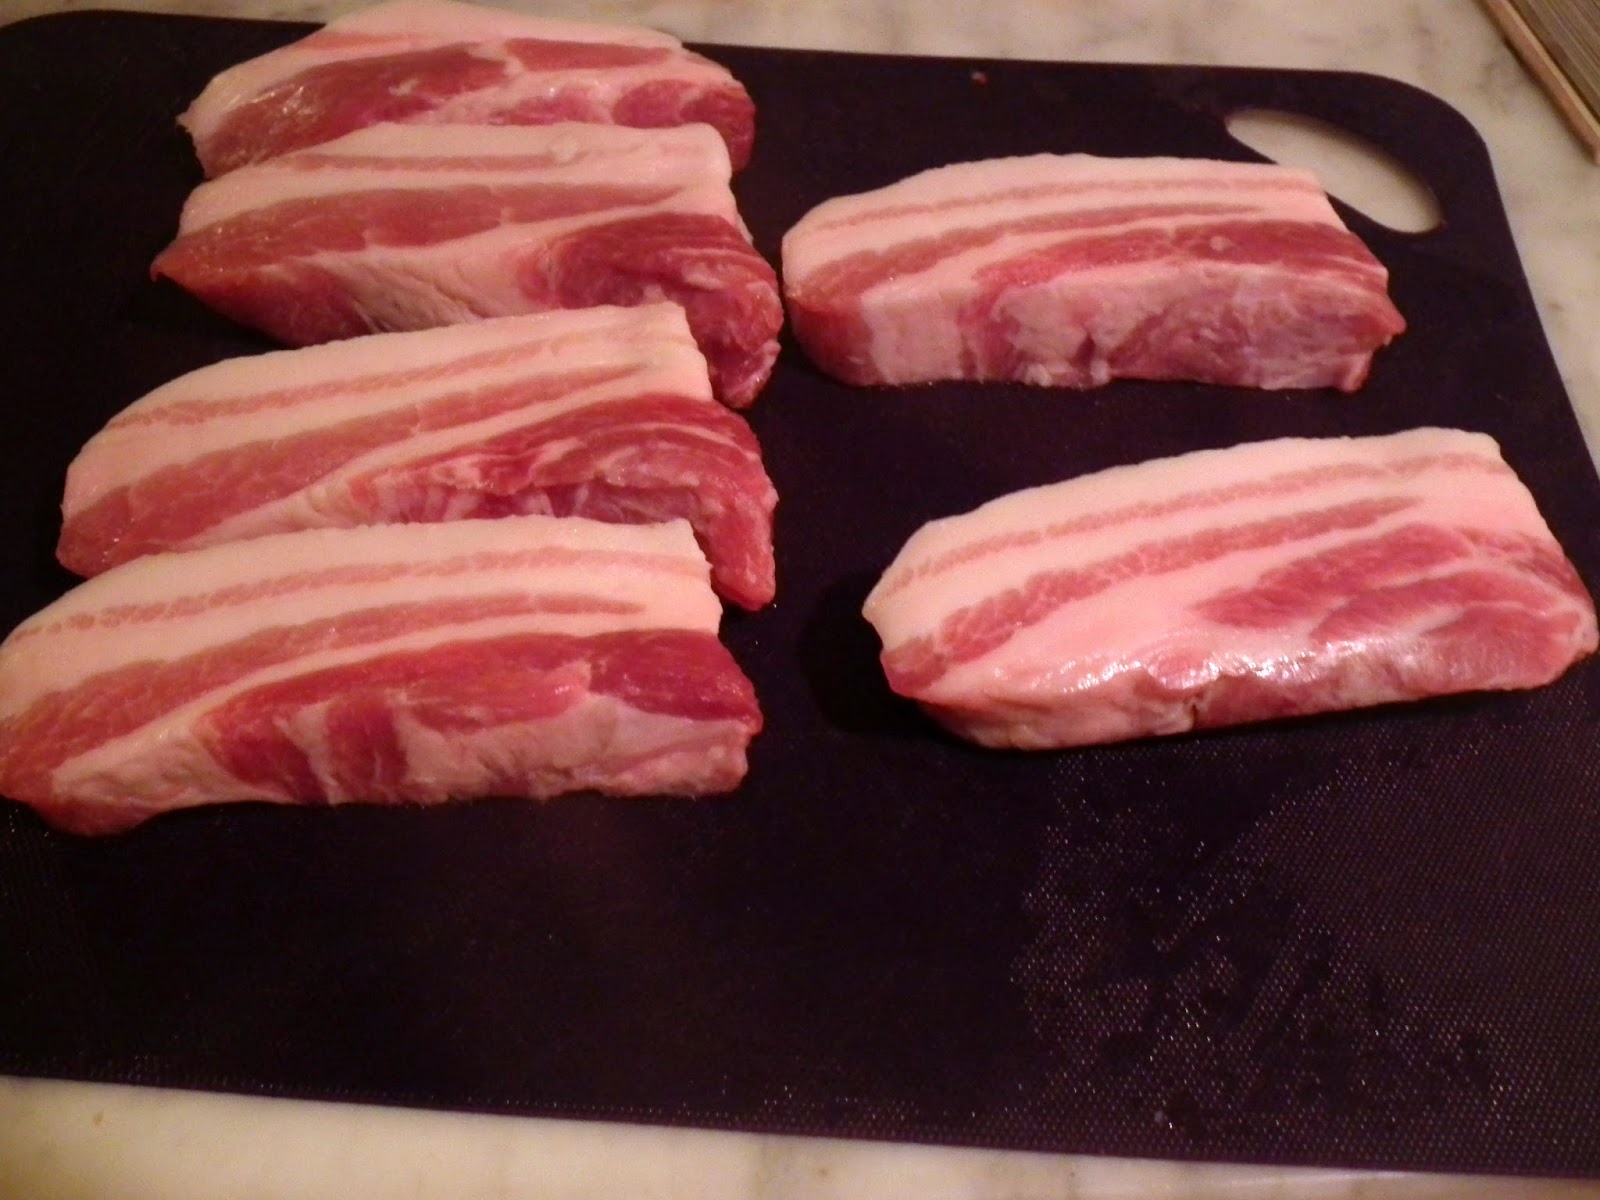
Get In My [Pork] Belly!

Despite having shelves of cookbooks and cooking magazines, we rarely take the time to flip through them and try out a recipe.  But last night, we did just that.  This summer we've gotten a watermelon in every share and we were running out of ideas (watermelon is to summer as cabbage is to winter in the CSA world).  Justin had actually already spent an afternoon thumbing through Eat With Your Hands, flagging the recipes that piqued his interest, including a crispy pork belly and watermelon salad.  It's not the first combination that comes to mind when I think of watermelon or pork belly, but let me tell ya...it's ridiculously good.

You'll want to start by pickling your rinds since they need to sit in the pickling juice for at least an hour.  You can also do this up to 2 days in advance. Start by mixing your liquid:
2 c. rice vinegar (we only have about 1.5 c. rice vinegar, so we used white vinegar for the remainder)
3 shallots, thinly sliced (we only used 2, since ours were pretty big)
2 Thai bird chilies, thinly sliced (we used jalepenos instead)
2 fresh Kaffir lime leaves (we found ours at Whole Foods, but Asian markets have them too)
2 inches ginger, peeled and sliced
1.25 oz palm sugar or 1 round gula jawa or 2 tbsp light brown sugar
1 tbsp koser salt
Combine everything in a saucepan and bring it to a boil.  All the flavors of the lime leaves, ginger, shallots and peppers will steep into the vinegar and sugar as it cooks.  The sugar adds a much needed sweetness to help cut the tanginess of the vinegar.  While your liquid is warming up, you can start slicing your rind.  You'll want to cut the flesh of the watermelon away from the rind, and also remove the tougher, dark green skin, so that all your left with is the fleshy white part.  You'll cut the rinds into cubes, and once your pickling liquid has come to a boil, and the sugar has dissolved, strain the liquid over your rinds.  They can go into the fridge while you prepare everything else.  You'll also want to cut the flesh of the watermelon into cubes, which can also go into the fridge to stay chilled until you're ready to serve it.

Now for the pork belly.  The recipe tells you to fry your pork, but we decided to just render out the fat and braise it in my dutch oven.  Just cut it into 1-inch chunks, and drop 'em in the dutch oven.  We had about 1 1/3 pounds of pork belly, and it took 20-25 minutes for it all to render down and crisp up.
While your pork is cooking, you can make the dressing for your salad.  In a food processor, combine:
3 oz. palm sugar or 2 rounds gula jawa or 1/4 c. light brown sugar
1 c. rice vinegar (we used Chinese cooking wine since we were out of rice vinegar)
1/2 c. fresh lime juice
4 inches fresh ginger, peeled and sliced
24 cilantro stems (use both the leaves and stems)
2 garlic cloves
3/4 tsp Kosher salt

Mix equal parts watermelon and pickled rinds, along with 2 sliced scallions, and freshly torn mint and Thai basil leaves (we used lemon basil instead).  Pour enough dressing over the salad so it lightly coats everything.  When your pork is done, divide it amongst your plates, and top each with the watermelon salad.  Garnish with some sesame seeds, and in our case, some crumbled chicharrones (I couldn't pass them up in the market!).
We were slightly worried how this would come out.  As any good chefs, we try and taste the elements along the way; the rinds were bordering on too sour, the watermelon was cloyingly sweet, and the belly was very rich.  Fortunately, the sum was definitively greater than its parts--this was a delicious meal.  Calling it a salad doesn't do it justice.  The dressing, along with the mint and basil rounded it out with a clean, herbaceous taste.  There is a definite salty, sweet, and sour thing going on here that made you want to keep going back for another bite.  The chicharrones and sesame seeds gave it a nice crunchy textural component.   I strongly suggest getting a piece of pickled rind, the sweet watermelon, and the warm crispy pork all in one bite.  The flavors really pop in your mouth, and compliment each other nicely.  Take it from us, this is one summer dish that can't be missed!

August 19, 2013

Compressed Watermelon Sashimi

To accompany our oyster miso soup, we took inspiration from our recent meal at Kapnos, and tried our hand at compressed watermelon, with an Asian twist.  We don't have a vacuum sealer, so we searched the interwebs for technique ideas and suggestions.

Start by slicing up your watermelon.  You want rectangular slices so they'll mimic pieces of tuna sashimi.  The easiest way to do this is by slicing the watermelon in half.  Slice off the round end as well.  Then cut off your rind, like you're supreming an orange.  Just let your knife follow the curve of the melon.  Then cut off the rounded edges so you're left with a a more cubical piece.  Then you can slice it into pieces that mimic sashimi.
To cut some of the sweetness and add a bit of flavor, we brushed some fish sauce onto each slice, and then stacked the slices into towers.  Then we tightly wrapped the towers in plastic wrap.  The juice will start to seep out immediately.  Do your best to wrap them tightly, and secure the plastic wrap with rubber bands.  Since the juices will leach out, we placed our little packages in a bowl, and put them in the freezer to compress even more.
We made ours prior to making our oyster miso soup, so they had time to compress, but not completely freeze.  To finish off the watermelon, we sliced up some radishes and garnished them with chopped parsley and cilantro, and some sliced serrano peppers.  The sweetness of the watermelon was balanced out nicely by the subtle heat of the peppers and the saltiness of the fish sauce.
Our other watermelon stacks are still in the freezer, but when we're ready to eat them, we'll just be sure to let them defrost before eating them.  It was a fairly simple way to achieve compressed watermelon without having a vacuum sealer too.

July 10, 2013

Hey--It's a Whole Lotta Jicama (and corn too)!

As promised, we're back with a quick run down on how to throw together the jicama slaw and grilled corn that accompanied our brisket for the 4th of July.  Both were really simple.

Let's start with the jicama.  If you're not familiar with it, it kind of resembles a root vegetable.  It's fairly starchy, but has the crispness of a radish, but is sweet, rather than spicy.  It's mostly common in Latin American cuisine.  In the grocery store, you'll typically find it near the onions.  Start by peeling it, and then slicing it into matchsticks.  We went with a medium sized bulb of jicama, and ended up with plenty of slaw for  the four of us.  So depending on how many people you're serving, you may want to go for a larger/smaller bulb.

Next, we chopped up some red cabbage.  I just pulled off the leaves of the cabbage, stacked them on top of each other, and got to slicing.  You'll want an equal ratio of jicama to cabbage.  You also want you cabbage strips to be about the same size as your jicama sticks, so you may need to cut your leaves in half, like I did, before slicing them into strips.

And for the red component of the slaw (could you tell we were going for a patriotic side dish?), we roasted a red bell pepper on the grill.  You'll want to throw it on the grill for about 15-20 minutes, until the skin is nice and charred, and the pepper has softened.  Pull it off the grill, and once it's cool enough to handle, you can peel the skin off.  Then just slice it into strips.

The dressing was equally as simple.  Just mix together some sour cream,
rice wine vinegar, mirin, lime juice, lime zest, cilantro, and chili powder.  I think we used about a 1/2 cup of sour cream for all those veggies.  Make sure when you mix up your dressing, you give it a taste before pouring it over your slaw.  The vinegar, mirin, and lime juice will help thin out your dressing too.  Then pour it over your slaw, and give it a good toss so all the veggies are evenly coated.  If you're like me, and you don't like your slaw swimming in dressing, gradually add your dressing to your veggies so you don't run the risk of over dressing them.

Onto the corn!  During the summer, I hate to use a lot of indoor appliances because they just heat up the kitchen.  So grilling corn outdoors is a great alternative to just steaming them on the stove.  It gives this grain a nice smoky flavor as well from browning the husks.  First, you'll need to remove the silk from each ear of corn, while leaving the husk in tact.  The best way to do this is to peel back the husk down to the base, 1 leaf at a time, until the ear of corn is exposed and you can remove all the silk.  Then you can just cover the ear back up with the husk and move onto the next ear.


In order to not burn the husks, you'll want to soak your corn in water, just like you would with wooden skewers if you were making kebabs.  This keeps the husks moist enough to not catch on fire.  When you're ready to grill them, make sure all the water has drained out of the corn, and then simply put them on the grill for about 15-20 minutes, rotating them frequently.
Once their done, and are cool enough to handle, you can remove the husks.  We then squeezed some fresh lime juice over each ear, sprinkled on some chili powder and cilantro, and topped each ear with some queso fresco.  This was our take on a traditional Mexican street food.
Both the jicama slaw and grilled corn were nice, light accompaniments to our delicious smoked brisket, and would be great for any backyard cookout this summer!

June 4, 2013

Welcome to the Jungle [Curry]

I'm pretty sure I won Justin over on just our 2nd date when we ended up at Little Serow for dinner.  If you're not familiar, it's a tiny, hole-in-the-wall place, behind an unmarked door, that was named one of Bon Appetit's 50 best new restaurants last year.  If you're lucky enough to get a seat, you're in for 5-7 courses of delicious northern and northeastern Thai food.  This isn't your typical coconut curry and pad Thai that you get in most Thai restaurants.  Instead, the flavors are tangy, and progress in heat.  The ingredient I was most surprised to find was dill.

It was only a matter of time before we attempted to recreate this cuisine at home.  We decided to make a jungle curry, native to northeastern Thailand.  Coconuts don't grow in that region, so this curry ends up looking more like a broth.

We started by prepping our veggies; some magda squash, globe squash, baby bok choy, and snap peas, green onion, all fresh from the share, along with some white onion, dill and cilantro.
 Then we fried up some shallots that would be used as a garnish.  Just slice them then, and drop them into some hot oil.  You don't have to bread them or anything.  Keep your eye on them though.  They fry up quick.
We heated our wok with some vegetable oil and tossed in a couple cloves of chopped garlic, a healthy squeeze of sriracha, and a couple chopped dried chiles.  Once they became fragrant, we tossed in the bok choy, and started to build the broth.  I didn't have any curry paste on hand, but I did have some amok curry powder from a past trip to Cambodia, so we tossed that in instead.  We also added a bit of brown sugar, some oyster sauce, and a bit of fish sauce.  Now, the smell of fish sauce is not appealing at all, but it adds a nice salty and tangy flavor to a lot of southeast Asian dishes.

From here, we started adding in the squashes, onions, snap peas, and some chicken broth to round out the broth.  As everything continued to simmer together, we added in our cubed chicken.  Within minutes, the We plated up the curry, garnished with the cilantro, dill, and fried shallots.
It was really, really good, and very different from typical Thai food such as peanut satay.  The squashes were especially yummy as they soaked up all the complex flavor from the curry, while the heat didn't overwhelm their nutty taste.  I have to say...it was a pretty close rendition to a dish we enjoyed at Little Serow last summer, and much quicker than waiting in line for a table.

April 10, 2013

Welcome to the Tropics

Now that the weather is really warming up, it's time to start cooking with spring/summer fruits and veggies.  We got things started with some pork chops topped with mango salsa.

Here's my trick for cutting a mango.  The seed in the middle is typically pretty wide, but not very thick.  So, start by slicing off the sides.

Then, score your two sides into whatever size cubes you like.  You don't want to cut all the way through the skin though.  Then flip it inside out.
Now, all you have to do is is run your knife through the bottom of your chunks to separate them from the skin.  To finish off the salsa, we added some sliced green onion, red onion, cilantro, and some lemon.
Give it a good stir, add a little salt and pepper, and you're good to go!  This would also be great with a little cucumber or some avocado, and some jalepeno if you want a little heat.

For the pork chops, we simply seasoned them with salt, pepper, cayenne, and a little grapeseed oil, and stuck them under the broiler for a few minutes on each side.  You'll want to keep an eye on them so they don't overcook and become tough.  And to finish off the meal, we had a simple salad, lightly dressed with some lemon juice, grapeseed oil, a drop of maple syrup, salt and pepper.

March 25, 2013

It's a Wrap!

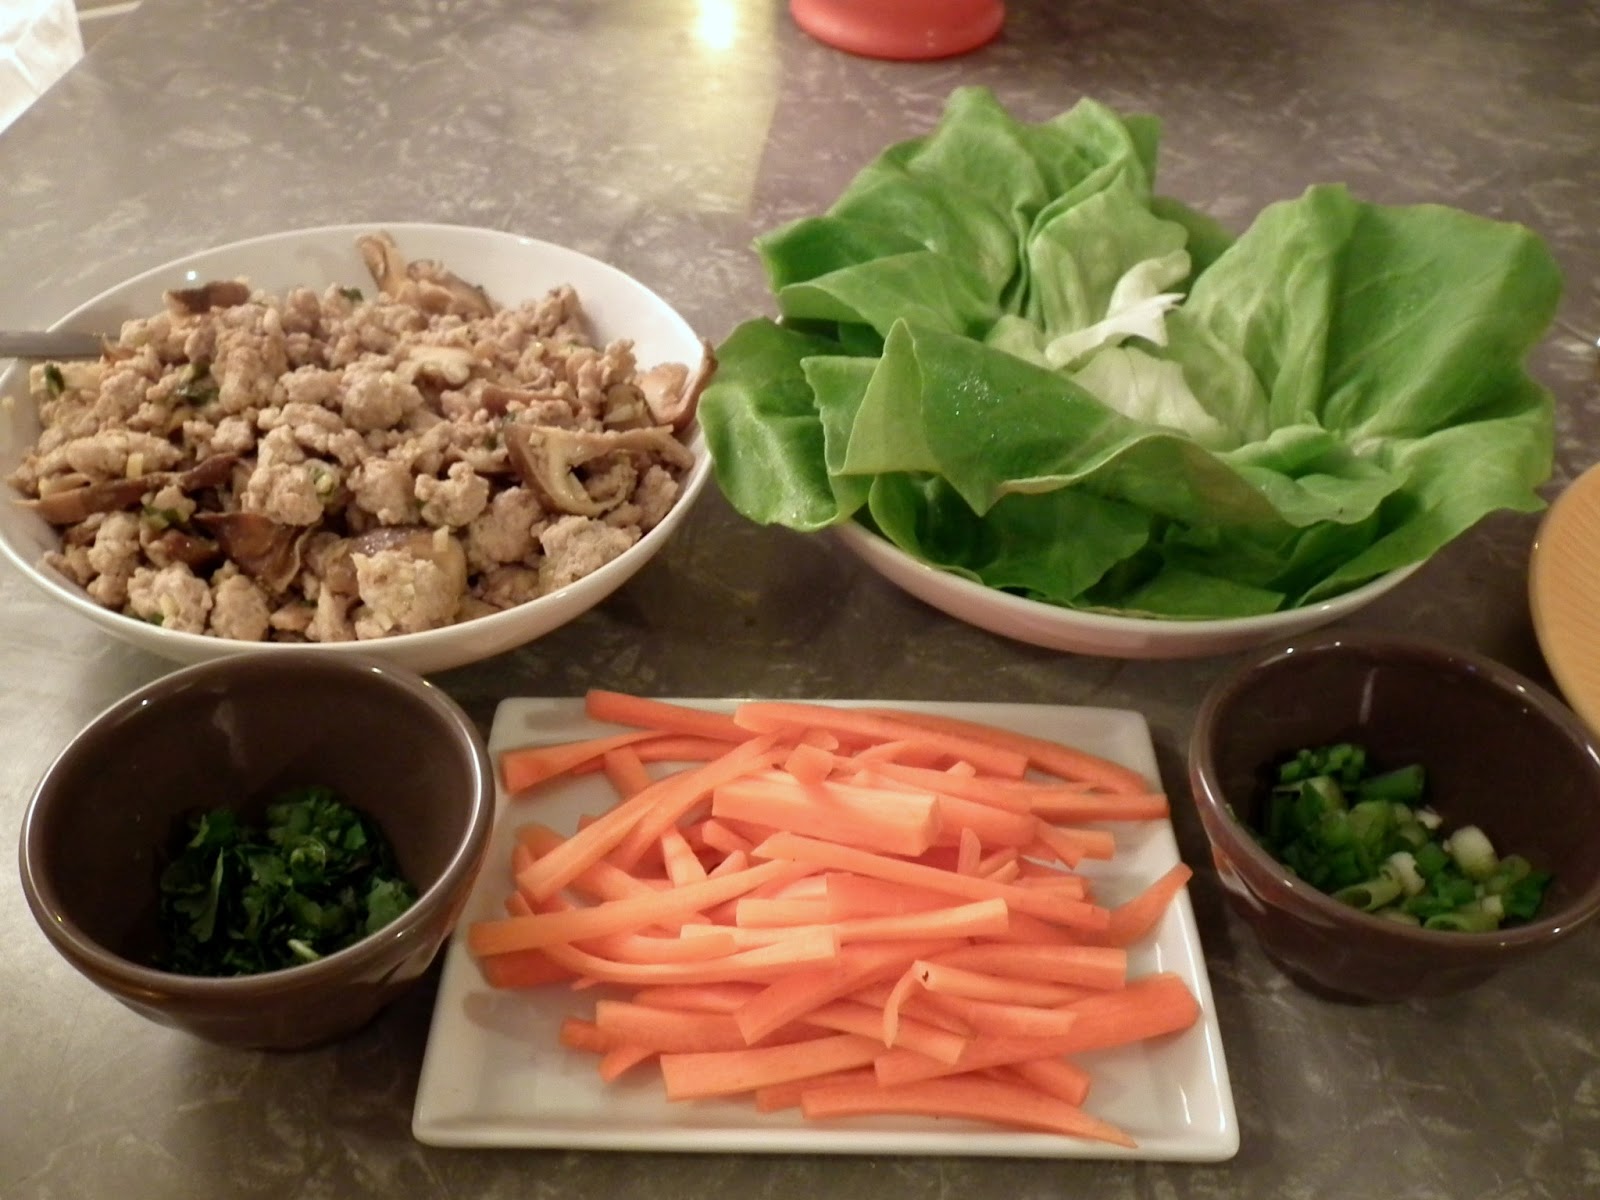
On a cold, rainy night like tonight we were looking for a quick, easy, healthy, tasty, and comforting meal.  We were hungry for some delicious pot stickers like we had at Chinese New Year, but we wanted to keep it Paleo, and use some of our share ingredients, so decided to make some Asian lettuce wraps.

Essentially, we used the recipe for the pot sticker filling.  We started by mincing up some ginger, garlic, and scallions.  
That was all mixed with some ground pork, salt, white pepper, sesame oil, a little soy sauce, and a dash of Chinese cooking wine.  Next we chopped up our shitakes from the share, and tossed it all together.
We cooked the mixture in a pan with a bit of coconut oil, and it was ready in no time.  While that cooked, we julienned some carrots to wrap up in the lettuce, and chopped up a little more green onion, and some cilantro to garnish.

We tore the leaves from the head of bibb lettuce to use as our wraps, and set up a little station to build our wraps.  Just spoon in some pork and mushrooms, add a few carrot sticks, top with some green onion and cilantro, and you're good to go!