Showing posts with label rosemary. Show all posts

January 21, 2014

Quack & Vac

We didn't wait very long to break the vacuum sealer and immersion circulator out of their packaging to give them a whirl.  It was just too hard to resist!

We picked up a couple duck breasts for our initial test drive.  This was perfect for our test run because we've made this dish pretty successfully in the past (despite the occasional duck fat spill from substandard bags breaking).  We started by scoring the skin, and seasoning them with salt and pepper.  We also threw a couple sprigs of thyme and rosemary into the bag for additional flavor.  
Once everything was in the bag, we sealed it up.  I don't know why we waited so long to get a vacuum sealer, because this little machine is so magical.  Just slide the bag's open end into the machine, close and lock the lid, press a button, and in less than 10 seconds, you have a vacuum sealed pouch.  It couldn't be simpler! Not only will it come in handy for sous vide cooking, but it will help us better preserve our various ingredients.
We clamped out immersion circulator to the side of our stock pot, which was filled with water, and placed our ducks into the pot.  Several sources online recommended cooking duck breasts at 135 degrees for 2 hours, so that's what we went with.  We programmed our circulator, and within 5 minutes, it was up to temperature.  We popped in our duck and covered it with some aluminium foil and we were good to go.
After 2 hours, the alarm sounded, and it was time to pull out our duck breasts.  We wanted to crisp up the skins, so we took them out of the pouch, and placed them skin-side down in a hot pan.  The fat rendered out even more, and the skin was perfectly crisp.
We pulled them out of the pan, and let them rest for about 5 minutes.  You don't want to lose all those juices when you slice into it!
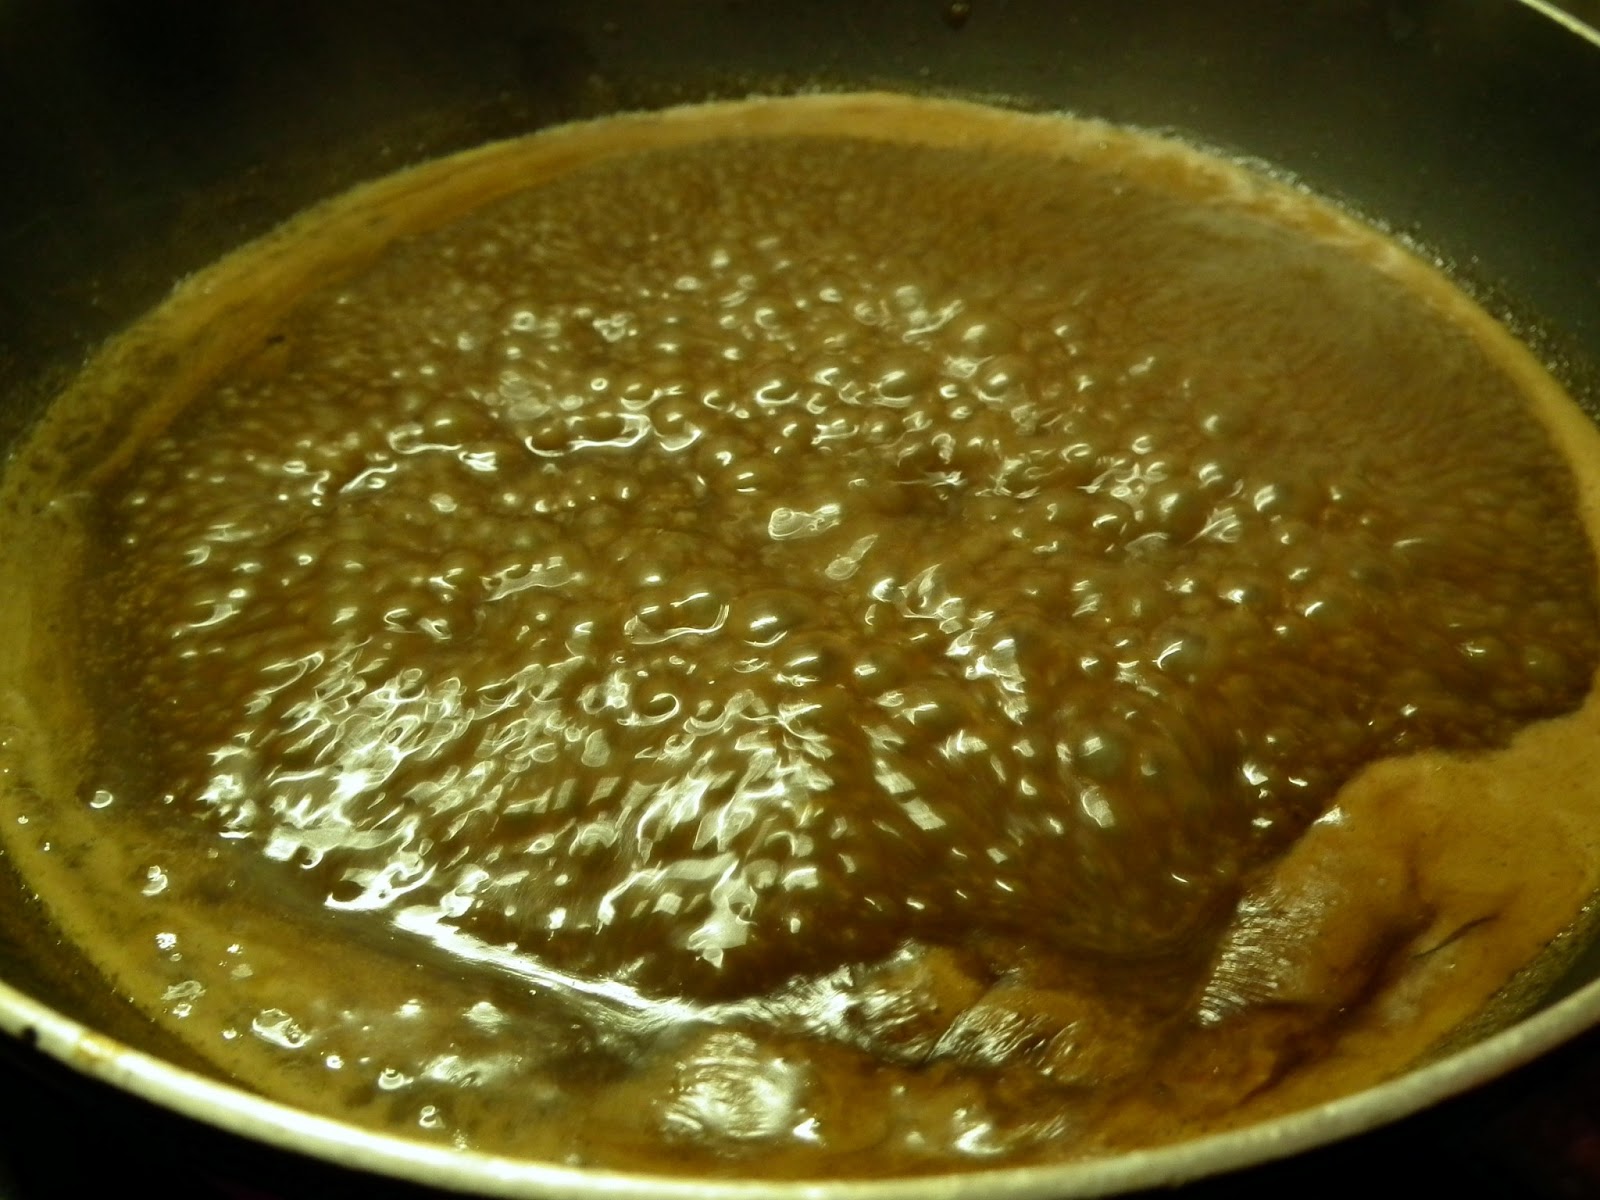
Cherries are a popular compliment to duck, but we didn't have any on hand.  What we did have was some extra cranberry sauce.  We just added a little butter and brown sugar, and we had a slightly tart and slightly sweet sauce!  As a side dish, we whipped up one of our favorites, the kale-sunchoke farro hash.
Sous vide is such an easy technique that leaves you with perfectly cooked meat every time.  With our new toys, it's going to be so much easier to play around with different meats, root veggies, and even eggs.

December 4, 2013

To Brine, or Not to Brine?

I grew up always having a smoked turkey for Thanksgiving, which was easy to do when we lived in California.  After moving back east, colder weather came into play, and usually put a damper on our smoking plans, which is exactly what happened this year.  With about a week to go until the big day and a projected temperature of only 38 degrees, smoking the turkey just wasn't in the cards, and we resorted to oven roasting the bird.

Many people will recommend brining the turkey, to help retain moisture, particularly in the breast meat.  Wet brines are fine and good, but they require a lot of space in your fridge, and can leave your meat with a slightly mushy texture.  Instead, we tried a dry brine, which we found here.  One perk to dry brining is that you can apply the brine while your turkey is still frozen!  This was a huge time saver for us, since it took about 3.5 days for our turkey to completely defrost.

First, you'll want to get your brine ready.  As the recipe suggests, you want about 1 tbsp. of salt for every 5lbs. of turkey.  We had a 16.6lb. turkey, so we used a little more than 3 tbsp. salt.  Because we still wanted to try and get a smokey flavor, we used 2 tbsp. of applewood smoked salt, and 1 tbsp. kosher salt.  In addition to the salt, we added in some smoked paprika, again for some smokiness, along with some chopped thyme, rosemary, sage, and juniper berries, which we crushed in our mortar and pestle.

Now it's time to rub it all over your turkey!  Since our turkey still had to defrost, we placed him in a brining bag.  That way it would collect the water, and it'd be easy to dispose once Thanksgiving day came.  Before rubbing your salt mixture on the bird, be sure to pat him dry with paper towel to get rid of any excess moisture.  Also make sure that any gizzards and organs have been removed from the cavity.  Sprinkle a bit of your salt & spice mixture in the cavity too.  Then you'll want to use about 1 tbsp on the breasts, and 1 tbsp on each leg/wing/thigh.  If your turkey is defrosted already, be sure to get in all the crevices.

Once you've rubbed him down, you can seal up the bag.  Try to get as much air out of the bag as possible.  It can be a little tough, so it's best to have an extra set of hands to help you do this.
Now you can just pop your bird into the refrigerator, breast side up, for 3 days, and let the salt work its magic.  If you remember, give your turkey a little massage each day.  We massaged ours through the bag, just to keep our hands clean.
After the 3rd day, you'll want to remove him from the bag, and refrigerate him for at least 8 hours, uncovered.  We first put the brine on our turkey on Monday, so Wedensday night, before we went to bed, we took him out of the bag, gave him one last massage, and let him sit overnight, uncovered, in the fridge.


At least 1 hour before you're ready to cook your bird, be sure to take him out of the fridge, and let him start to warm up.  We also gave him an additional dusting of my Grandpa's secret rub, the one he'd use on his smoked turkeys.  As when roasting a chicken, we prepared some aromatics to put in the cavity to add a bit of flavor, and also keep the breast moist.  We stuck to traditional ingredients here, roughly chopping up some carrots, onion, celery, and lemon, and making a bundle of rosemary, sage and thyme.


We stuffed what we could into the cavity, and the rest went into the bottom of the roasting pan, so we'd get some added flavor to the pan drippings, in case we wanted to make gravy later.  Also make sure to tie the legs together, closing up the cavity as much as you can.  This will also help prevent the meat from drying out.

Now you're ready to roast!  Heat up your oven to 425 degrees, and place your bird, breast side down, on your roasting rack.  I know this is atypical, but trust us, it works!  We also brushed some softened butter onto the skin of the turkey to help it brown.  When you're oven comes to temperature, throw your bird in for 30 minutes.  This will help get the bottom nice and brown.
After 30 minutes, pull your bird out of the oven and flip him over.  Remember that the pan and bird are extremely hot.  Be sure to have oven mitts or dish towels handy to help you flip the bird without burning yourself.  While you're trying to flip the bird, you'll also want to lower the oven temperature to 325 degrees.  Give him another coat of butter, and pop him back in the oven until a thermometer, stuck into the thickest part of the thigh, reads 160 degrees.
For us, it took about 2.5hrs. more.  Most will say that poultry needs to be cooked to an internal temperature of 165 degrees, but we knew that if we pulled him out when he reached 160 degrees, the carry-over cooking would bring him up to 165.
Be sure to let him rest for at least 30 minutes before you start carving into him.  While he's resting, you can give him a foil tent to keep him warm, and you can now use the oven to cook your side dishes, like our green bean casserole.

The dry brining method was a success!  The breast stayed nice and moist, and the smoked salt we used added a subtle smokiness to the meat.  It was a great alternative to actually smoking the turkey.

May 11, 2013

Beer Can Chicken

Ah the infamous beer can chicken, AKA redneck duck confit.  Legend has it that at a BBQ competition some guy was waiting for brisket to cook overnight. He grew hungry while drinking some brews, and decided to cook himself up a chicken to snack on.  In his drunken state he accidentally set the chicken on his beer, and the beer can chicken was born.  Contrary to popular belief, the reason the chicken is so moist and delicious isn't from alcohol vapors or anything like that.  Sitting upright lets all that tasty skin fat render down the breast meat making it all tender and delicious!

After patiently waiting 3 whole days for our chicken to defrost, we were FINALLY able to cook it.  And with the weather warming up, we've been using the grill a lot more lately, so we decided to try out some beer can chicken.  This isn't a quick meal, like our last few have been, but it's totally worth the wait.

Start by procuring a can of beer.  We used Oskar Blues Ten Fidy Imperial Stout, since we had it on hand, but you can use whatever you want.  Reserve about 1/4 of the can for your rub, drink about 1/4, and leave the other half in the can.  Then we chopped up some garlic, rosemary, and oregano, and added that to the can with a bit of your dry rub ingredients.
For the rub, we used that 1/4 can of beer we reserved, some grapeseed oil (or whatever oil you have on hand), paprika, cayenne, cumin, dried sage, dried thyme, salt, pepper, and some secret hobo spices (we can't tell you ALL of our secrets!).  Before mixing the wet and dry ingredients, we put some of the spice mixture into the beer can (mentioned above), and saved some to sprinkle on the bird before we put him on the grill.  Then just get your hands dirty and rub your mixture all over the chicken, making sure to get into all the nooks and crannies.
Then you'll want to carefully insert the beer can into the cavity of the chicken, and stand him upright in a foil roasting pan.  You'll want to pull his legs forward and tuck his wings forward.  This will help him balance and sit upright.  Just like roasting a chicken in the oven, filling the cavity will help keep the breast meat moist and juicy, and having the metal can inside helps cook the bird from the inside out.
The most important part of the process is to use indirect heat, cooking him low, and slow.  For our grill, we only turned on the outer burners, and placed our chicken in the middle.  The other tray you see in the picture is filled with some water to help evenly distribute the heat.  If you own a fancy grill with a built-in thermometer, you'll want it to heat up to 225-245 degrees.  If your grill doesn't have a thermometer like ours, you can just wing it! (pun intended).

While the bird was cooking, we sat back, relaxed, and patiently waited.  We were starting to get anxious so we made our side dishes.  We made some sweet potato fries, and butter braised radishes.  Both sides were extremely simple.

For the radishes, cut off the ends, and quarter them.  And you can slice up your sorrel.
Then melt some butter in a pan with some stock.  We used all the stock we had for our risotto, so we just used some water.  Once it's melted, toss in your radishes, season with salt and pepper, and just let them cook.
Once the butter sauce thickens, you can take them off the heat.  This took about 15 minutes.  Then just toss them with the sorrel.   I never would have thought about eating warm, cooked radishes, but they were surprisingly tasty.  Obviously the butter helped in the taste department, but warming them also took some of the spicy bite out of them.  They were still on the crunchy side, which I liked, and the sorrel gave it back some of the freshness that the cooking process removed.

It ended up taking about 2 hours to cook our bird.  But it was well worth the wait.  The skin came out nice and crispy, the meat and juicy and tender, and there were plenty of drippings to make a delicious pan sauce.

We poured the drippings from the pan, and whatever beer was left in the can into a little skillet, added some cream, and whipped up a tasty little gravy.


Our beer can chicken dinner wouldn't be complete without a beer to drink, so we cracked open a bottle of Taster's Choice, a collaboration brew between DC Brau (our local brewery) and Ska Brewing, from CO.  They teamed up the ska band, The Pietasters, to make a coffee doppleback brew.  It was a delicious pairing to our chicken.


Overall, the meal came out delicious, it was a hearty and rustic meal, that packed a flavorful punch.  This is a great meal for summer get togethers because it starts with cracking open a beer and the grill does all the work while you continue the drinking and merriment with your friends.

April 2, 2013

CSA Day AND Chicken Marsala

That's right...you're getting a two for one deal tonight!  So let's get things started.

Here's what we hauled in today...
We're really excited about this whole chicken.  The peanuts and potatoes will be a little trickier since they are both off limits with the Paleo diet, but since we allow ourselves one cheat day, we'll find a way to incorporate them into meals then.

Now...for tonight's dinner, we whipped up some chicken marsala and roasted turnips.

We started by making a "marinade" for the chicken.  I use that term loosely since it wasn't your typical saucy marinade, but that's how the recipe phrased it, so that's what I'm sticking with.  We started by slicing and dicing some green onion (since we didn't have shallots), white onion, garlic, thyme, rosemary (our little twist), and sage, and adding in a bit of grapeseed oil.  Then we layered in our chicken, making sure each piece was nicely covered in the aromatics.
The recipe says to cut your chicken into chunks, but we went more with cutlets.  So I stacked them up, making sure to get the onions and herbs in between each piece, and let them sit for about 10 minutes while we prepped the turnips.  We kept them simple and just roasted them up, similar to how we did the cauliflower here.  Once the chicken had a chance to marinate, we browned them in a pan, and then popped 'em into the oven just to stay warm (so turn your oven no higher than 200).

Using the same pan, we added the remaining onions and herbs to the pan to soften, and then added in the mushrooms.  We used both the oyster and shitake mushrooms that we picked up in our share.
Once the mushrooms have cooked down, add in your marsala wine to deglaze the pan.  Be sure to scrape up all the delicious brown bits that may be stuck on the bottom of your pan.  If you use a non-stick pan like we did, you won't have to worry about those stuck-on bits.

Once the alcohol has cooked off, add in your chicken stock.  Give everything a good stir, and be sure to season your sauce with salt and pepper.  Then you just let it simmer and reduce for about 10 minutes.  Up until this point, it was Paleo-friendly.  But we had to add a tiny bit of cornstarch to thicken the sauce.  The recipe called for arrowroot as the thickening agent, but we didn't have any on hand.  Considering there was only about 1/2 tsp of cornstarch, I'm going to say this was still Paleo-friendly.

Once your sauce has thickened to your desired viscosity, you can toss your chickens in so they can absorb some of the sauce.  Then you're ready to serve!

March 20, 2013

Kara Had a Little Lamb (Sausage)!

With March Madness getting underway, we opted for a quick and easy meal we could throw together in between games.  We found this recipe, and just made a few tweaks, as always, and paired it with a simple salad.

I was a bit surprised to get tomatoes in our share yesterday since it's still pretty chilly down here in DC.  We sliced up a few of them and topped them with some olive oil, salt, pepper, rosemary, thyme, garlic and parsley.  Then they went under the broiler for about 10 minutes.  We laid them on top of our salad and dressed with with a bit of olive oil and some white balsamic, for some added sweetness.
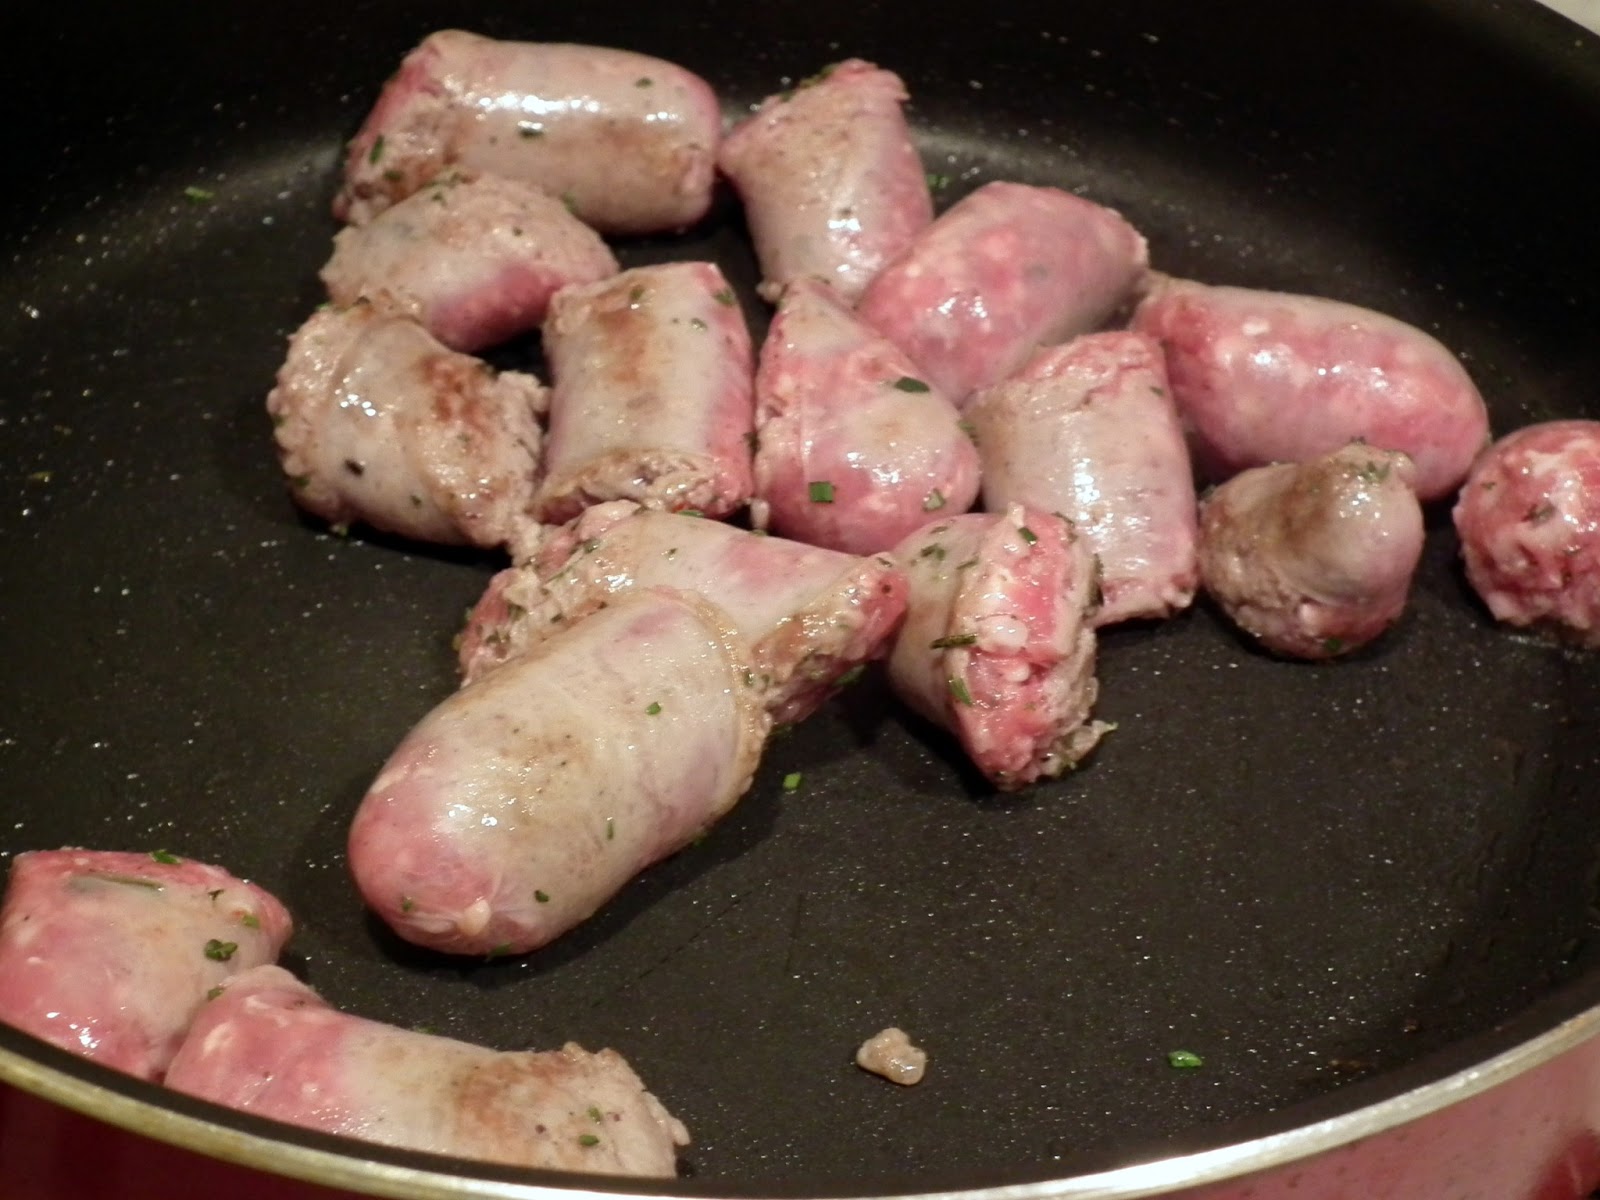
For the main dish, we started by slicing the sausage into whatever size pieces you want.  We had pork & lamb sausage on hand from our share, so we went with those.  Once those get cooking in the pan, just toss in your artichokes, and in our case, some sun-dried tomatoes.
I know, I know...the recipe says to use bacon, and you're surprised that we didn't...but the bacon was at Justin's, and that's where it stayed.  So instead, we threw in the sun-dried tomatoes.  I know it's not really an equal substitute, but it still ended up being quite tasty.

While the sausage finished cooking, we poached the eggs.  You'll want to fill the pot with just enough water to cover the eggs, and add a little salt and about a teaspoon of white vinegar to the water.  This will help your whites stay together.  Let your water get close to a boil, but just under to it is still and a little steamy.  Then just crack your eggs into the water and let them cook up.  They'll be done in minutes!

All that's left to do is pile your sausage, artichokes and sun-dried tomatoes into a bowl, and top with the egg.  We sprinkled a little black pepper and fresh parsley on top to garnish.