Showing posts with label basil. Show all posts

August 24, 2013

Get In My [Pork] Belly!

Despite having shelves of cookbooks and cooking magazines, we rarely take the time to flip through them and try out a recipe.  But last night, we did just that.  This summer we've gotten a watermelon in every share and we were running out of ideas (watermelon is to summer as cabbage is to winter in the CSA world).  Justin had actually already spent an afternoon thumbing through Eat With Your Hands, flagging the recipes that piqued his interest, including a crispy pork belly and watermelon salad.  It's not the first combination that comes to mind when I think of watermelon or pork belly, but let me tell ya...it's ridiculously good.

You'll want to start by pickling your rinds since they need to sit in the pickling juice for at least an hour.  You can also do this up to 2 days in advance. Start by mixing your liquid:
2 c. rice vinegar (we only have about 1.5 c. rice vinegar, so we used white vinegar for the remainder)
3 shallots, thinly sliced (we only used 2, since ours were pretty big)
2 Thai bird chilies, thinly sliced (we used jalepenos instead)
2 fresh Kaffir lime leaves (we found ours at Whole Foods, but Asian markets have them too)
2 inches ginger, peeled and sliced
1.25 oz palm sugar or 1 round gula jawa or 2 tbsp light brown sugar
1 tbsp koser salt
Combine everything in a saucepan and bring it to a boil.  All the flavors of the lime leaves, ginger, shallots and peppers will steep into the vinegar and sugar as it cooks.  The sugar adds a much needed sweetness to help cut the tanginess of the vinegar.  While your liquid is warming up, you can start slicing your rind.  You'll want to cut the flesh of the watermelon away from the rind, and also remove the tougher, dark green skin, so that all your left with is the fleshy white part.  You'll cut the rinds into cubes, and once your pickling liquid has come to a boil, and the sugar has dissolved, strain the liquid over your rinds.  They can go into the fridge while you prepare everything else.  You'll also want to cut the flesh of the watermelon into cubes, which can also go into the fridge to stay chilled until you're ready to serve it.

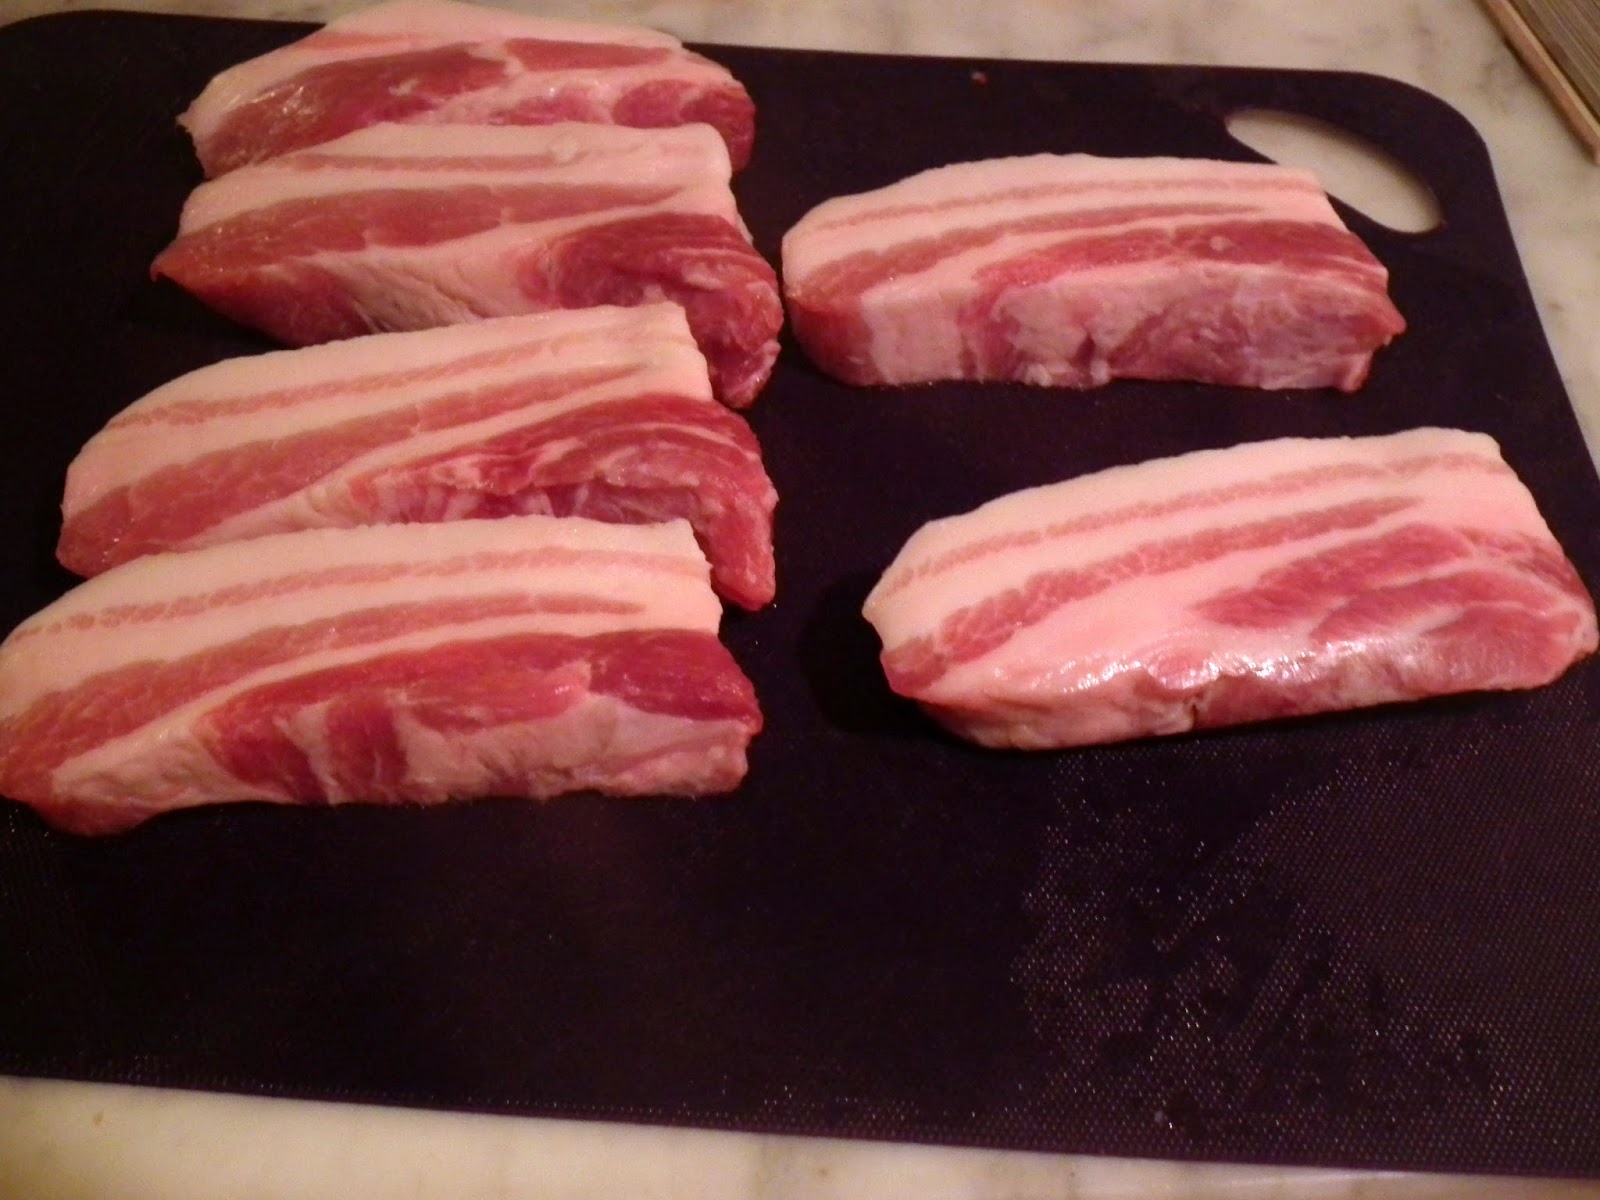
Now for the pork belly.  The recipe tells you to fry your pork, but we decided to just render out the fat and braise it in my dutch oven.  Just cut it into 1-inch chunks, and drop 'em in the dutch oven.  We had about 1 1/3 pounds of pork belly, and it took 20-25 minutes for it all to render down and crisp up.
While your pork is cooking, you can make the dressing for your salad.  In a food processor, combine:
3 oz. palm sugar or 2 rounds gula jawa or 1/4 c. light brown sugar
1 c. rice vinegar (we used Chinese cooking wine since we were out of rice vinegar)
1/2 c. fresh lime juice
4 inches fresh ginger, peeled and sliced
24 cilantro stems (use both the leaves and stems)
2 garlic cloves
3/4 tsp Kosher salt

Mix equal parts watermelon and pickled rinds, along with 2 sliced scallions, and freshly torn mint and Thai basil leaves (we used lemon basil instead).  Pour enough dressing over the salad so it lightly coats everything.  When your pork is done, divide it amongst your plates, and top each with the watermelon salad.  Garnish with some sesame seeds, and in our case, some crumbled chicharrones (I couldn't pass them up in the market!).
We were slightly worried how this would come out.  As any good chefs, we try and taste the elements along the way; the rinds were bordering on too sour, the watermelon was cloyingly sweet, and the belly was very rich.  Fortunately, the sum was definitively greater than its parts--this was a delicious meal.  Calling it a salad doesn't do it justice.  The dressing, along with the mint and basil rounded it out with a clean, herbaceous taste.  There is a definite salty, sweet, and sour thing going on here that made you want to keep going back for another bite.  The chicharrones and sesame seeds gave it a nice crunchy textural component.   I strongly suggest getting a piece of pickled rind, the sweet watermelon, and the warm crispy pork all in one bite.  The flavors really pop in your mouth, and compliment each other nicely.  Take it from us, this is one summer dish that can't be missed!

June 28, 2013

Osteria di Kara

During college I was able to study abroad and spend a semester in Venice.  I was spoiled, living in a huge house on the Grand Canal, next to the Guggenheim Museum.  We had a little produce shop a few doors down from our house, run by Bruno, an Italian Mr. Rogers, who would wake up before the crack of dawn to gather produce off the boats.  You were always better off visiting Bruno in the morning because you never knew if he was going to reopen in the afternoons.
It was here that I really first started cooking for myself.  I couldn't just go out to eat every night, and there wasn't a cafeteria to rely on.  One of the dishes I learned to make during this semester was an Italian flag pasta.  Our Italian professor, Paolo, came over one night with his friend, Alex, and taught us how to make it, though I think Alex may have just drank wine while we all cooked!

It's really simple, and a great summer dish when tomatoes are in season.  Start by scoring the bottoms of your tomatoes and blanching them in hot water for about 90 seconds.  You'll see the skin start to peel away, and that's when you want to pull them out of the water.  Once they're cool enough to handle, peel the skin off.  It should come off quite easily.  You'll want to reserve the skin so you can squeeze the juice out of them for your sauce.
Then just dice up your tomatoes into whatever size chunks you like.  Just make sure to save all the juices and add them to your sauce.  
To the tomatoes, you'll add chopped garlic, fresh mozzarella, fresh basil, some dried Italian seasoning, red chili flake, and the secret ingredient...a splash of soy sauce!
Once your pasta is ready, toss it into the bowl and let the hot pasta "cook" your sauce.  You'll also want to add a bit of the starchy pasta water to help your sauce stick to the pasta.  Top with some parmesan cheese, and you're good to go!
It's quick, tasty, and only requires turning on 1 burner.  So on those hot summer days, you won't be heating up the kitchen too much.

June 26, 2013

The Red Hen

With the plethora of restaurants opening around the city, it's hard to keep up.  It feels like as soon as we try one place, five more have opened.  But we do what we can without having to crack open the piggy bank (well we crack it open sometimes and patch it back together!).  So on a beautiful Saturday night, with a looming super moon overhead, we found ourselves at The Red Hen, the newest spot in the up-and-coming Bloomingdale neighborhood.
As we walked up the block we noticed the giant red hen on the side of the building, and knew immediately this must be the place.  For all the skeptics out there thinking, "exactly what DC needs, another Italian-influenced seasonal, farm to table, hip restaurant", The Red Hen is the real deal.
Source

From the moment we walked in, we were greeted by friendly staff.  We weren't sure what to expect since it is kind of a hot-spot at the moment, but the vibe is extremely laid back.  The large inviting bar in the center of the restaurant is certainly a focal point.  This is a place where you want to hang out.  The decor is a really rustic cool, from hanging potted herbs and art on the wall, to interesting light fixtures and tons of exposed brick.  While these are nice accents, the real star of the show is the open kitchen.  You see the line at work, preparing food on the signature wood-fired hearth.

And that's all before our drink order even came.  Speaking about libations, The Red Hen has a very cool cocktail program that puts some new spins on classic cocktails.  Even the names are great.  I had the "Take the Easy Way and Give In", consisting of gin, cherry shrub, lime, and soda.  If you're not familiar with shrub, it's a sweetened, vinegar-based syrup, becoming more prevalent on cocktail menus these days.  Justin got exactly what he asked for, the aptly named,"You Get What You Ask For", a mix that will turn the heads of cocktail buffs, consisting of grappa, limoncello, and the bitter, spicy, somewhat uncommon, cocchi americano.  While we enjoyed the first few sips of our cocktails, we were presented with some bread brushed with olive oil and a delicious olive tapenade.  The bread could've used a quick toast, but the savory tapenade was a delicious topping, not overpowered by salt.

Next, it was on to the appetizers.  By now you are probably aware of Justin's affinity towards anything with truffles, so the crostini of smoked ricotta, balsamic brown butter & truffle honey was a no-brainer.  The smokiness was subtle, but just right, and was nicely balanced by the savory sweetness of the truffle honey.  We also enjoyed grilled octopus served with pesto and a potato puree.  The octopus had a nice char on it, and was incredibly tender.  I was surprised that they mixed the pesto and potatoes together; it had lost some of its flavor, but it was a nice complement to octopus.

Source
Are you drooling yet?  We haven't even touched on our entrees!  So let's dive in.  I went with the roasted lamb leg sandwich, served with grilled rapini, smoked onion, and a saffron aioli.  There was also some pickled fennel on the side, which was a nice acidic bite.  The lamb was cooked perfectly, and sliced thin on a nice, chewy roll. The aioli was awesome, and the saffron stood up to the richness of the aioli.  It was a smoky, savory, and delightful topping that brought all of the components together.  Justin opted for the veal sweetbreads. Sweetbreads are glands including the thymus, pancreas, and sometimes parts of the neck, and cheeks.  They are a protein that take quite a bit of finesse to perfect.  So did The Red Hen miss the mark?  Absolutely not--they were delectable.  Not a tinge of iron taste, they were cooked perfectly, not to sticky or fatty, and they had a delightful crispness.  The dish was rounded out with pea shoots, hearty bacon, a perfectly fried egg, and some extremely creamy and well-seasoned polenta.  Justin stuck with breakfast notes and ordered himself an imperial stout to act as the cup-o-joe to go with his bacon, eggs, and grits.

Somehow we managed to save room for dessert.  The basil panna cotta jumped right out at us, and we knew we had to order it.  It's not a flavor you typically see, and it certainly lived up to our expectations.  The panna cotta had a nice, refreshing basil flavor, really highlighting the herb itself.  It was accompanied by strawberry preserves, giving the dish a bit of sweetness and a delicious jammy texture to go with the creamy panna cotta.  The other dessert that we couldn't resist was the egg cream.  For those not in the know, an egg cream is a local favorite from Brooklyn that utilizes neither egg or cream.  Our server assured us that this recipe used Fox's U-Bet Chocolate Syrup.  So what's better than an egg cream? One with a lump of malted chocolate gelato in it!

If you couldn't tell, we love the place!  We plan to go back on another Saturday to take advantage of their Saturday night special; any crostini, pasta, and a glass of wine for only $22.  We've read rave reviews about the pastas, and if they're anything like the dishes we've already tasted, we're in for quite a treat!

May 6, 2013

CSA Recap

I know we're a week early, but last week's share was to make up for the one we missed while on vacation.  Tomorrow we'll pick up our next share and get back on the 2 week rotation.  So, here's what we picked up...
And here's what we made...
  • Balsamic Chicken with Prosciutto-Wrapped Asparagus
    • asparagus
  • Pecan-Crusted Salmon with Sorrel Sauce & Salad
    • sorrel
    • basil
    • mixed greens
    • celery tops
    • golden delicious apple
  • Garlic Scape Pesto
    • garlic scapes
    • basil
  • Umami Burgers (like these) & Sweet Potato Fries
    • ground beef
    • bibb lettuce
    • sweet potatoes
  • Sausage & Spinach Frittata w/ Home Fries
    • pork sausgae
    • spinach
    • garlic scapes
    • potatoes
We still have some sorrel, celery tops, and the actual garlic bulbs left, but I'm sure we'll find a good use for them with the goodies we pick up tomorrow.

May 2, 2013

The Great Scapes

You don't often come across garlic scapes, so we wanted to make something that really let them shine.  We put a little twist on your traditional pesto, and rather than use basil, we used the scapes.

We started by cutting off the scapes from the garlic bulbs.  Then we pulled off the outer greens so we could just use the tendrils within.  The outer greens kind of reminded me of green onions.  But once you peel those off, you have the more garlicky scapes.
The scapes have a definite garlic flavor, but is much milder than the actual cloves.  So in this pesto, it acts as the herb and the garlic, though we did add a little bit of basil that we had laying around.  We tossed the scapes into the food processor with some pistachios, rather than the traditional pine nuts.  And to make it Paleo-friendly, we just excluded the cheese.  If you want to add cheese, then you'll want to make sure your pistachios are not salted.  The cheese itself is salty, so if you have salty cheese and salty nuts, you'll end up with salty pesto.  That said, we didn't have to add any additional salt to ours...just a few pinches of pepper.  As with any pesto, you'll want to process the dry ingredients before you add the olive oil.  Once the garlic scapes and nuts are all chopped up nice and fine, you can start to stream in your olive oil until it reaches your desired consistency.
And then you're done.  That's how simple pesto is.  We tossed ours with some chicken, and just served it up with some roasted cauliflower, tossed in brown butter and lemon juice.  It made for another quick and tasty weeknight meal!

May 1, 2013

The Sorrel of the Story...

We were a bit unsure of how to best use our sorrel, so as always, we turned to the interwebs to see what kinds of recipes are out there.  Since we haven't had seafood in a while, and salmon went on sale at the market today, we decided to go with a pecan-crusted salmon with sorrel sauce.  It came together really easily and quickly, and made for a great week night meal.

Justin tackled the fish, making the crust by simply throwing the pecans, basil, and tarragon into a food processor, and grinding it all up with a bit of butter.  Then you just slather it on your salmon fillets, and pop them in the oven for about 20 minutes.
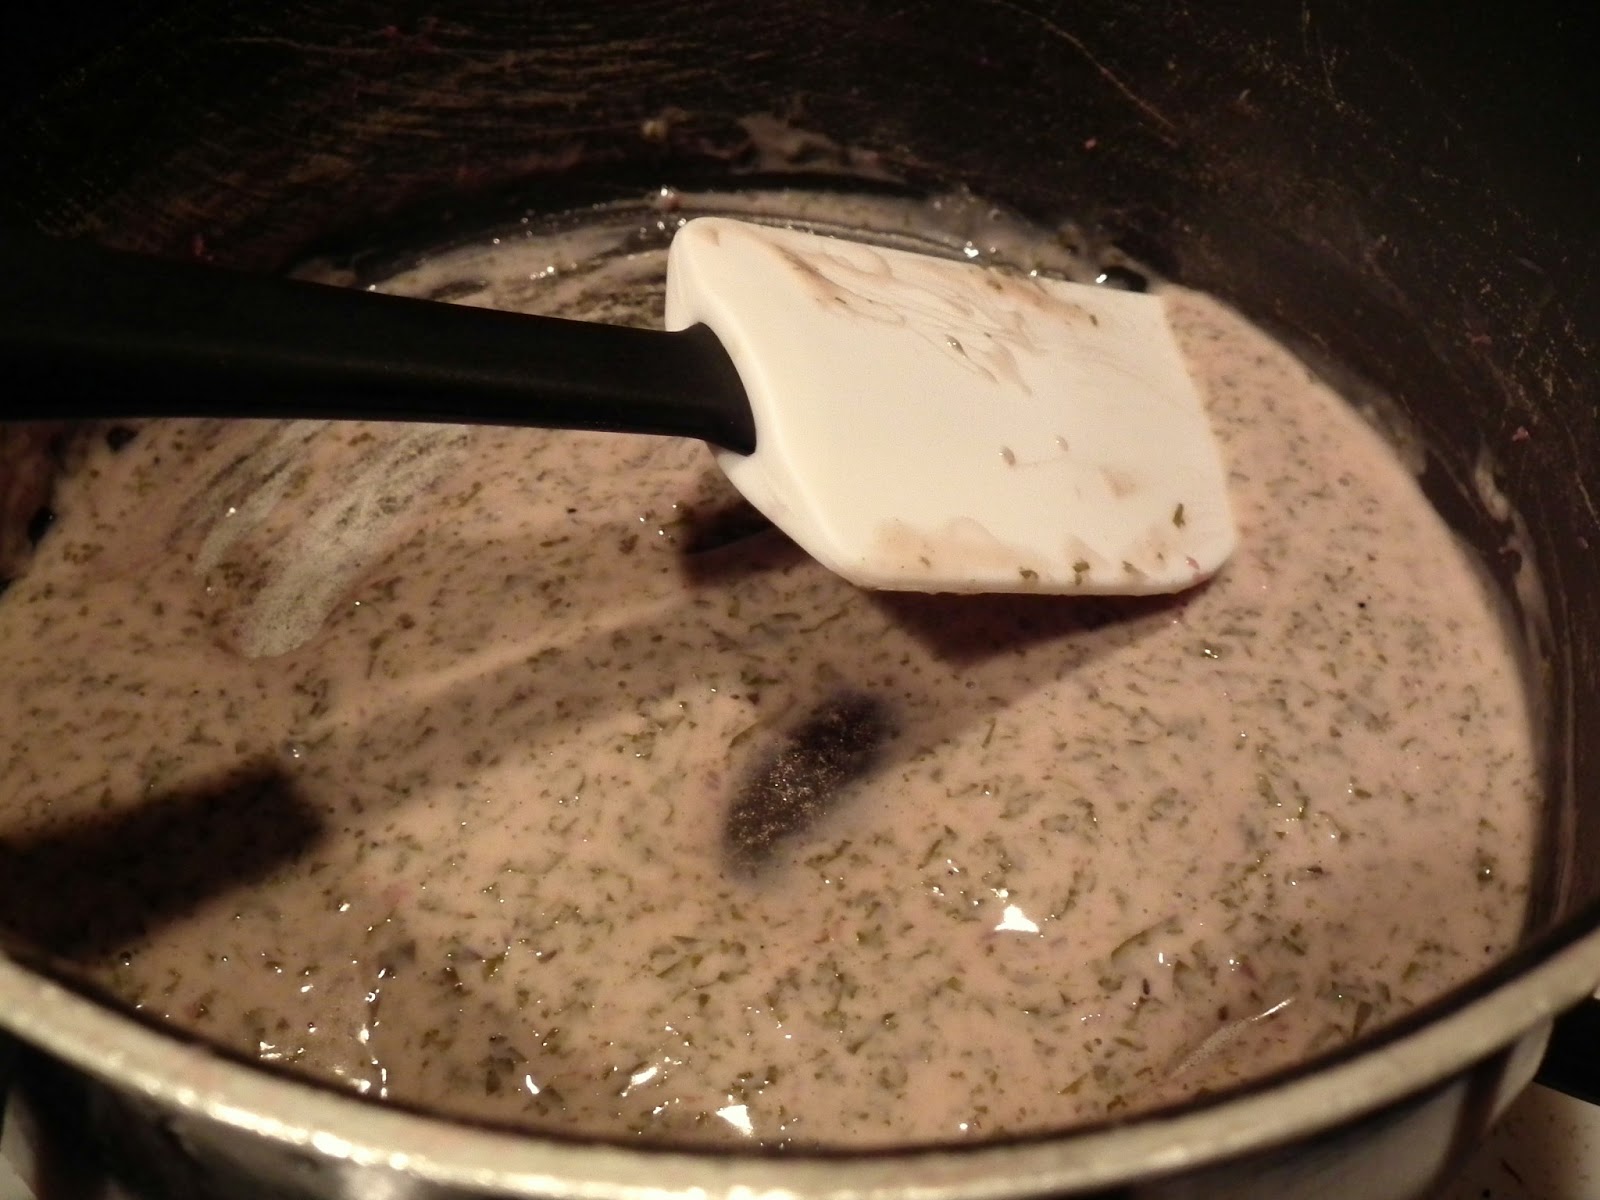
In the meantime, I took care of the sauce.  You start by chopping the sorrel and shallots, and giving them a quick saute with some cooking wine.  Once the sorrel has wilted, add in the cream.  Since we're back on the Paleo diet, we substituted coconut cream for the whipped cream.  Add a squeeze of fresh lime juice, and let it reduce down.  We also threw in a small pat of butter to help cut the coconut flavor.  Once it's reduced down to your desired consistency, give it a quick blend to smooth out the sauce and finely chop the sorrel and shallots.  Then just season with some white pepper and salt.

To compliment our fish, we threw together a simple salad using the mixed greens we picked up yesterday.  We sliced up some red onion, diced up one of the golden delicious apples, gave a rough chop to some of the celery tops, and thinly sliced some carrots.  For the dressing we mixed together some grapeseed oil, a bit of whole grain mustard, and some orange muscat vinaigrette.

The crust on the salmon gave it a nice herby crunch, and the sauce added a nice, creamy, earthiness.

April 30, 2013

CSA Day!

Between the end of the winter share and being on vacation, it feels like forever since we picked up a share.  But we're back on track to bring you more delicious meals.  We're really excited to get fewer potatoes and squashes, and a wider variety of fruits and veggies as the weather warms up.
I'm really excited about the sorrel, an ingredient I've never cooked with before, and to have garlic scapes to work with.  Stay tuned to see how we use them!